Monday, March 19, 2012

Reproducing a Victorian style Tile - No. Eight

Time to finish up this blog series with this post on pressing and the next on glazing. Since the tiles haven't actually been set yet by the homeowner, I can't show you the finished fireplaces. But as soon as I get them I'll share...promise!

Our funky, but very cool and productive, hand press. We start by laying a slab of clay on top of brown paper.

The plaster mould is placed on top of the clay, with the design face down. My production assistant, Trish, is doing all the work here....I've never had finger nails that long.

We use a stiff plastic cutout on top of the mould to help distribute the pressure. The sound of a plaster mould cracking is just a terrible sound.

The mould is centered under the press box.

The press is pulled down until it reaches a stop bar that has been set to create a tile the thickness we want.

Excess clay is cut from around the plaster mould.

The knife is drawn through the clay but chopped down at the end to prevent "dogears" at the corners.

Stamping the back of the tile.

The plaster releases the clay easily from the mould. We lay the tiles on plaster boards that are part of our production shop.

The tiles need to dry up before the excess is cut from around the pattern.

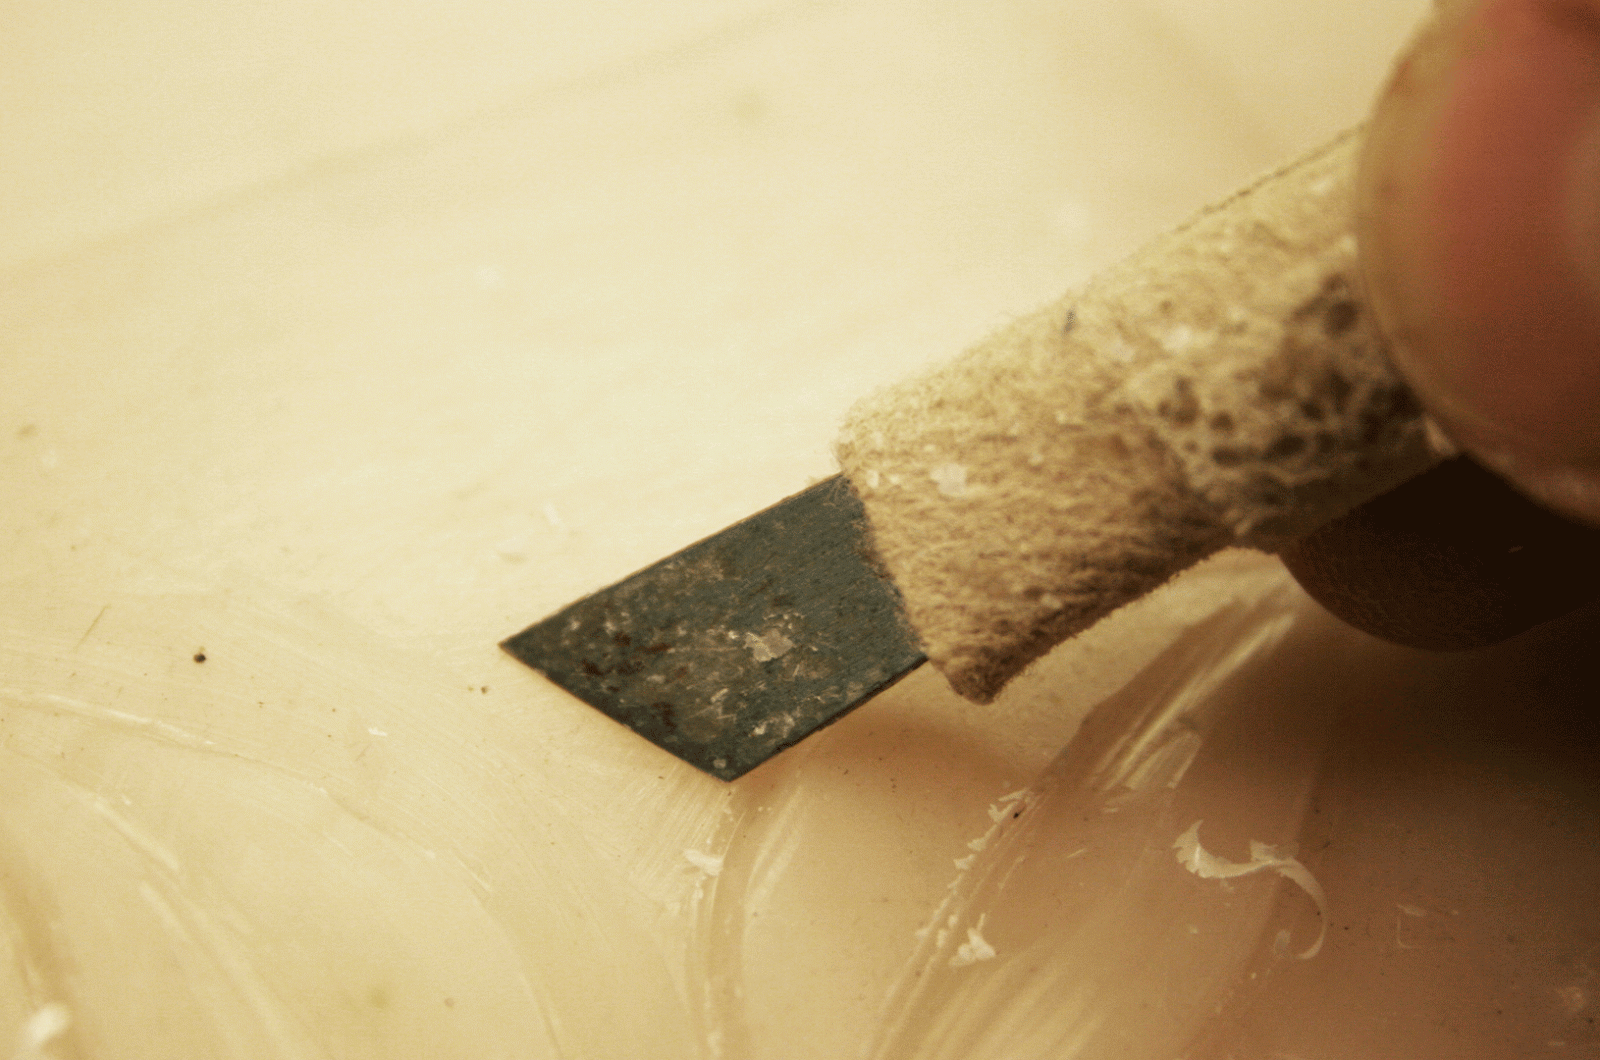
We use drywall tools as tile cutters. They are generally well made and are sharp enough to cut right through the clay.

After the edges are cut off the tiles are left to dry for a few days. Then we sponge the edges slightly to soften the cut just a bit.

The tiles are fired in a bisque kiln along with the field tile, and then are ready to go to the glazing room for the glaze party! Check back soon for that post!

Labels: , , , , , ,

Tuesday, March 6, 2012

My Tile reproduction....Part 7

How do I make my plaster moulds? Honestly.....not with a lot of enthusiasm.

Plaster is not my favorite material to work with....in fact plaster and I don't really enjoy each other very much. If I can, I let someone else make my moulds for me, but that's usually for large production runs. If I only need a few tiles for custom orders, then I just suck it up, get the apron and gloves on, and mix it up.
I set my wax on a thick pane of glass, which gives me a level surface to pour the plaster on.

I brush a thin coat of vegetable oil onto the wax to help the plaster separate from it.

I use plastic slats to create the frame that the plaster will be poured into. I seal the edges with soft clay.

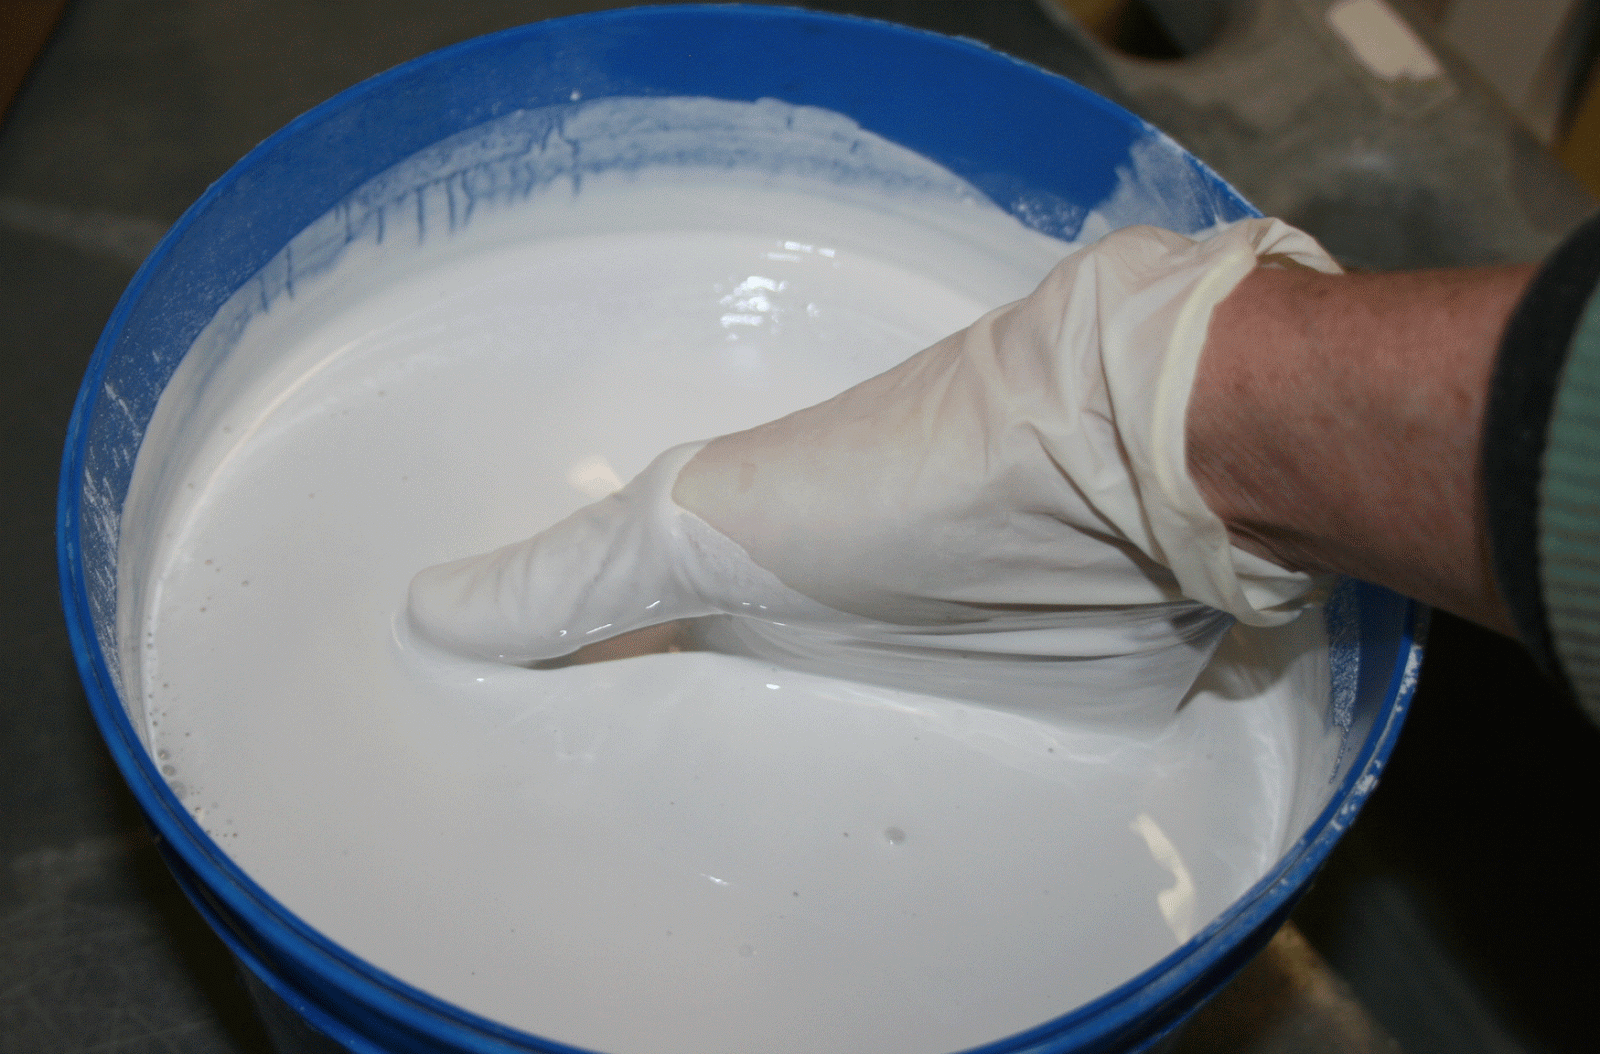
Mixing the plaster. I use the intuitive method of mixing the plaster into the water - add the dry plaster to the water until it makes dry islands just above the level of the water. Then I let it slake for a few minutes and stir for 8-10, while impatiently waiting for the perfect moment to pour.

I overfill the frame and let the plaster stiffen while I clean up the mixing bucket and messy spills.

When the plaster just begins to harden I use another plastic slat to level the it to the top edge. This ensures a consistent thickness and level to the mould.

Surface and edges are clean and now I just have to wait for the plaster to finish setting up. I take care not to go far because I've found that the plaster can get hot enough to warp the wax. I release it when it's hot to the touch.

A lovely sight is a just released plaster that has NO bubbles and every detail is in perfect form. This one turned out great.

Now that I have a working mould, I'll let it dry for a day or two and then...onto pressing the tiles!

Labels: , , , , , , ,

Sunday, March 4, 2012

Part Six of my series on Reproducing a Victorian Tile

Here we are at part six of a ten part series on reproducing a Victorian tile, and I have to admit this is the best part as far as I'm concerned. I'm now ready to work on the shape, texture and details of the tile.
Using the original tile as a guide I begin to shape the details and depth of the pattern.
I keep the original tile close at hand and reference it often to stay as true as possible to the flow of the pattern.
I use one of my small round tipped tools to soften the edges of the leaves.
I use the flat edged tools to level the background and smooth away any lines created from my first tracing.
The large rounded tools help me create the sculpted petals and leaves. I also use them to smooth edges.

The larger flat edged tools are used to finish the background areas of the wax.
Here's the finished wax. One detail I forgot to photograph, which stands out in this photo is how I fix or touch up areas that I want to change after carving. I use one of my small scoop shaped tools that has some wax in it, and heat it over a small candle flame. Then I lay the metal on top of the part I need to re-carve and let the hot wax melt onto the surface. The black areas of the wax show where the carbon from the edge of the scoop tool filled in with hot wax. I then let the wax cool for a few minutes and re-carve the details.

Next I'll show the pouring of the plaster mould.

Labels: , , , , , ,

Wednesday, November 9, 2011

Part 3 of Reproducing a Victorian Tile.

Ok - I've got the original tile, or at least a photo of what needs to be carved. I've formatted the image to a larger size to compensate for the shrinkage of the clay body. Now I need the materials for creating a reproduction of the tile. There are many different materials that can be used to create the master tile that moulds will be made from. Some include clay, plasticine, plaster, beeswax, jeweler's wax.....I prefer "holy wax".

My Mom helps clean her church - St. Augustine's in Lansingburgh, NY - and has been saving the candle discards for me for 30 years now.

I have many, many, many boxes of candles of all shapes and sizes - but a LOT of these  partially used vigil tapers.

I use this great old electric pot to melt my wax in, and set it at about 200* F to melt the wax. There's always some "starter" wax in the bottom left over from the last pour.

I add more candles to fill the pot up about 1/2 way full. It's about a quart of wax altogether.

I use a wooden kabob stick to stir the wax - everything melts together in about 10 minutes.

At this point I usually add a red candle to color the diluted wax. It took me about a year to decide what color I liked to carve the best. A light "emberglow" seems to be the easiest and most soothing on my eyes. I used to carve a light tone of lavender, but the wax moved itself towards more honeysuckle tones all by itself, and I let it go where it wanted to. I did discover early on that blue and green didn't work for me at all. And - never, ever, ever, add scented candles to the mix - big mistake.

When the wax is just about all melted I add stearic acid - about 1/2 cup to 1 quart of wax - but try it out for yourself to find the mix you like. It makes for a harder, more durable wax (but it won't save the wax from melting in the mid-day sun...so if your head is made of it, watch out.....inside joke for my dear husband). Also - if you leave your wax carving on the dashboard of your car - it WILL melt.

Pulling out the wicks from the melted candles.

I pour my wax, and have been for 30 odd years - into this enameled pan. It has a very smooth surface and is easy to level when I pour the wax into it. I heat it up over the hot wax for 3-4 minutes, so that when I pour the wax into the pan it melts smoothly onto the surface rather than cooling immediately and leaving pouring marks. Learned that one the hard way.

I lay the pan onto paper or cardboard, which helps to insulate it from cooling too quickly.

I unplug the electric pot and slowly pour the wax into the pan.

The wax is transparent until it begins to cool. At this point I level the pan out with folded pieces of paper. The black line around the pan has always served as a great leveling line.

I usually let the wax sit overnight to cool. It becomes opaque as it cools, and pulls away from the pan slightly. If I want to carve the same day, I'll put the pan with the somewhat solidified wax into the refrigerator or freezer. Cooling the wax quickly creates a very interesting textured look and feel to the back surface, but I prefer a nice smooth back. I always carve from the front - or the surface that has been against the enameled pan.

The wax just pops right out of the pan.

Almost as good as a large slab of dark chocolate...this baby is ready to be carved upon!

So - there you have it. Now that you know how to prepare a slab of wax for carving..what are you waiting for? Send me photos of your wax slab and what you're working on, I'd love to see!

Next up - I might have to add a bit of somewhat related art history here...or maybe I'll just jump right into the thick of it with the tools I use and how I start the art.

Stay tuned!

Labels: , , , , , ,