Thursday, May 3, 2012

"Kind woman lives here" handmade tile

My customer was kind enough to send a photo showing how she used her custom tile in an address sign, an amazing project!

She cemented the tiles onto a board and grouted with a very dark green grout. Here you can see it before the grout is cleaned completely off the tiles.


Close up of my cat tile, lines filled with grout.

The grout is all cleaned off and the tiles sparkle! What a fantastic project and an attention grabber for anyone who passes the house!

If you'd like to discuss custom tile projects, please visit my Etsy shop or e-mail me at lestile@nycap.rr.com.

Thanks for visiting!!

Labels: , , , ,

Tuesday, May 1, 2012

Anatomy of a custom tile order

One of my favorite things to do is to work with enthusiastic customers on creating custom tiles for them. A lovely Etsy customer contacted me and asked if I could create a tile of her Etsy avatar which is a variation of a Hobo sign indicating that 'a good woman lives here'. Her project was to make an address sign for her sister, using other mosaic tiles to surround the cat tile. Carving in wax is a bit pricey, so I suggested a carved line that would be filled in with grout to highlight the image. All agreed and the project is a "Go"!

I printed out the image on a sheet of paper, grabbed a freshly made 4x4" tile, and jumped into the making process.


Laying the paper on top of the clay.

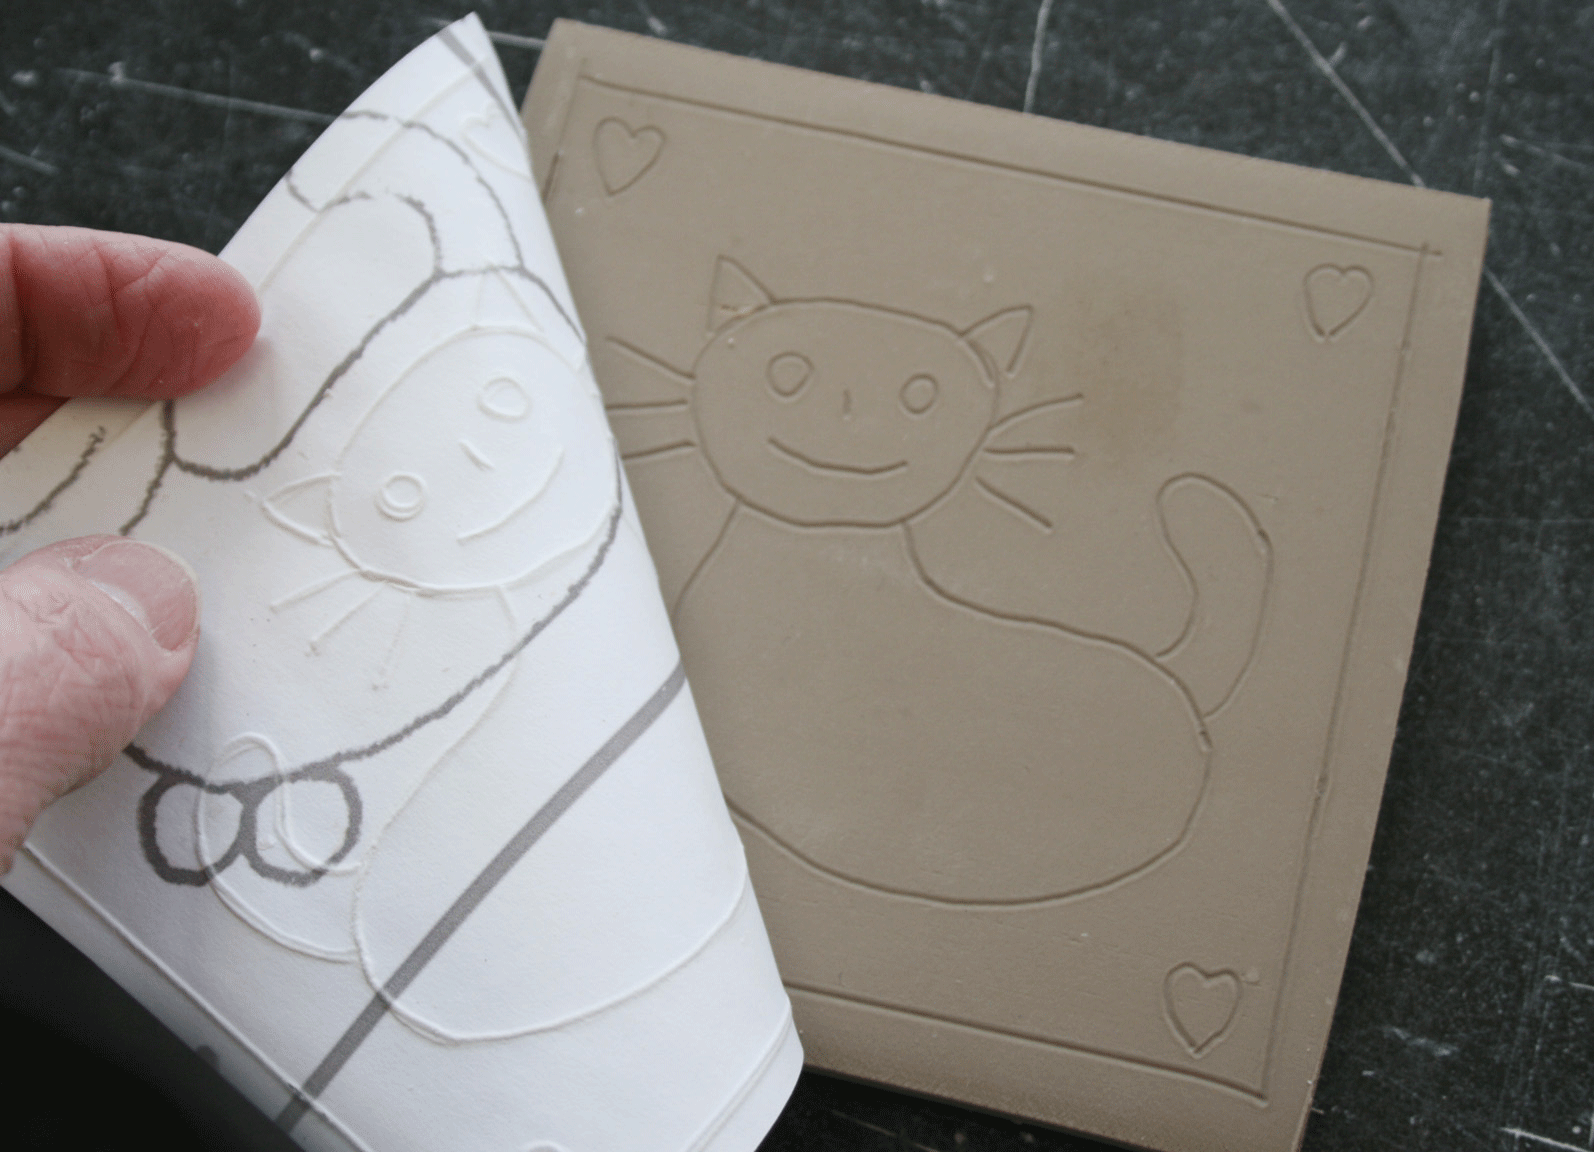
Using a pen to trace the design onto the clay surface.

Peeling off the paper to reveal the image on the clay.

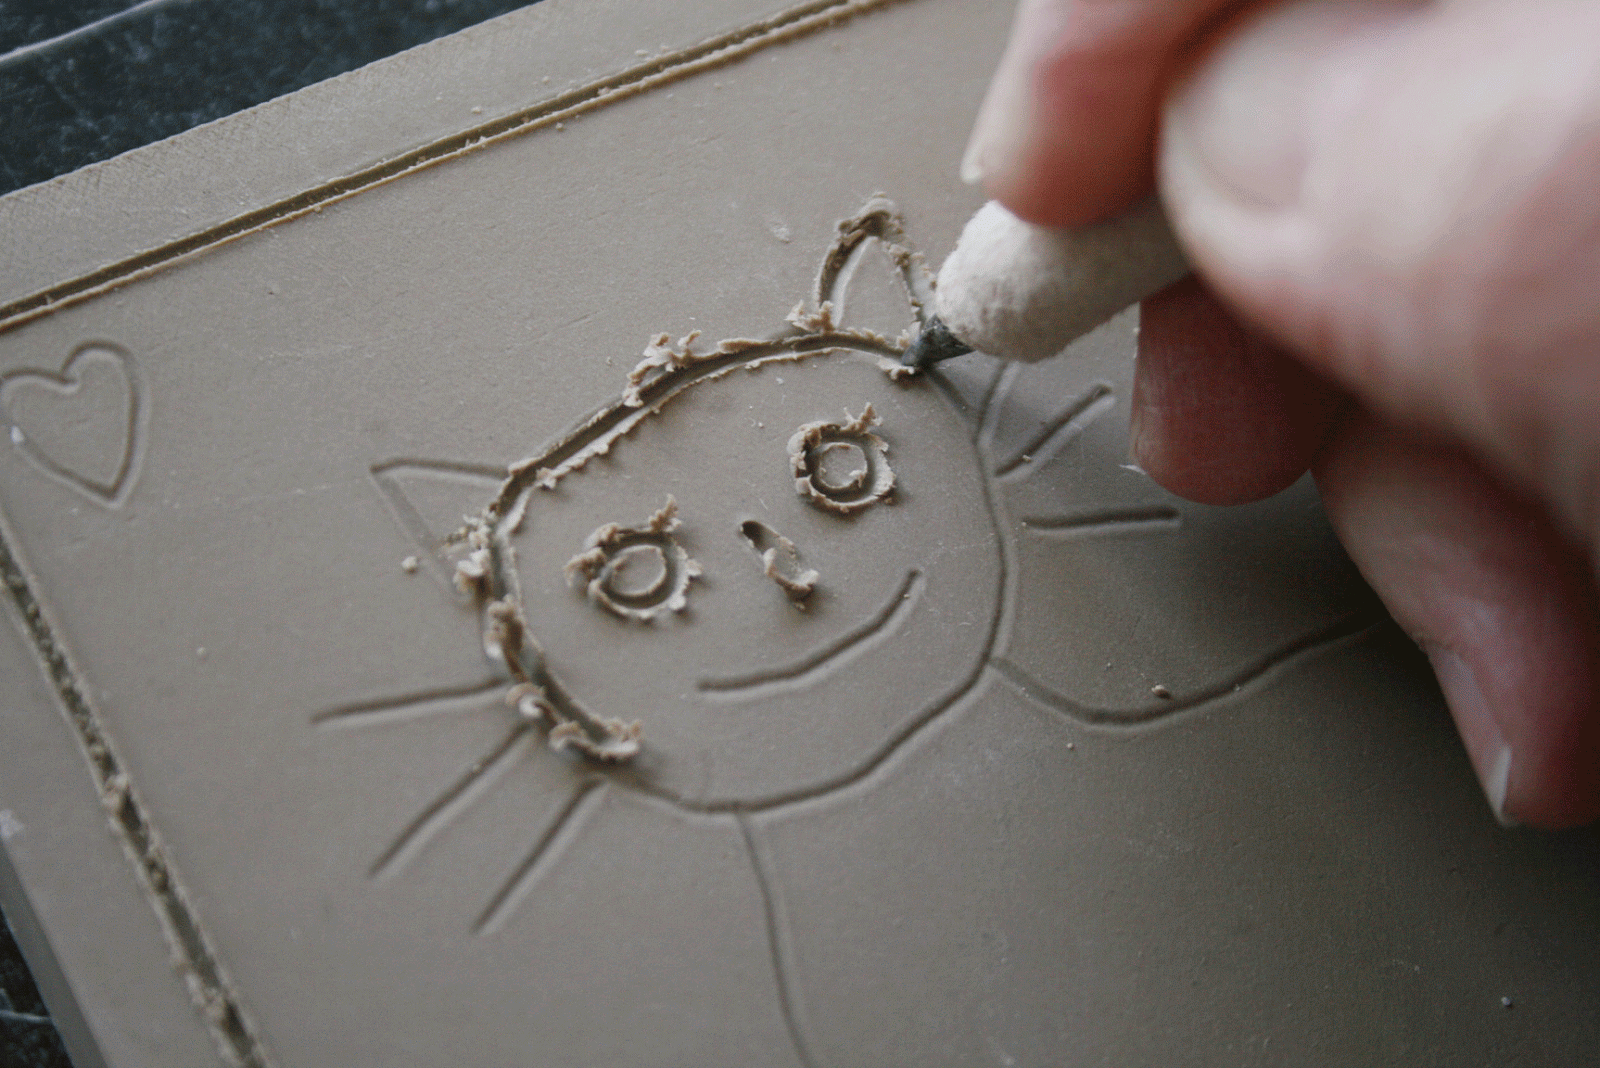
Using a stylus to create a line deep enough to hold the grout.

Finished with creating the line. The clay is leatherhard and crumbles as the line is drawn in it. This needs to be cleaned up.

Brushing off all the clay crumbs.

After letting the tile dry a bit more I use a carving tool to smooth the lines a bit. Then I use a sponge to give it a nice clean finish.

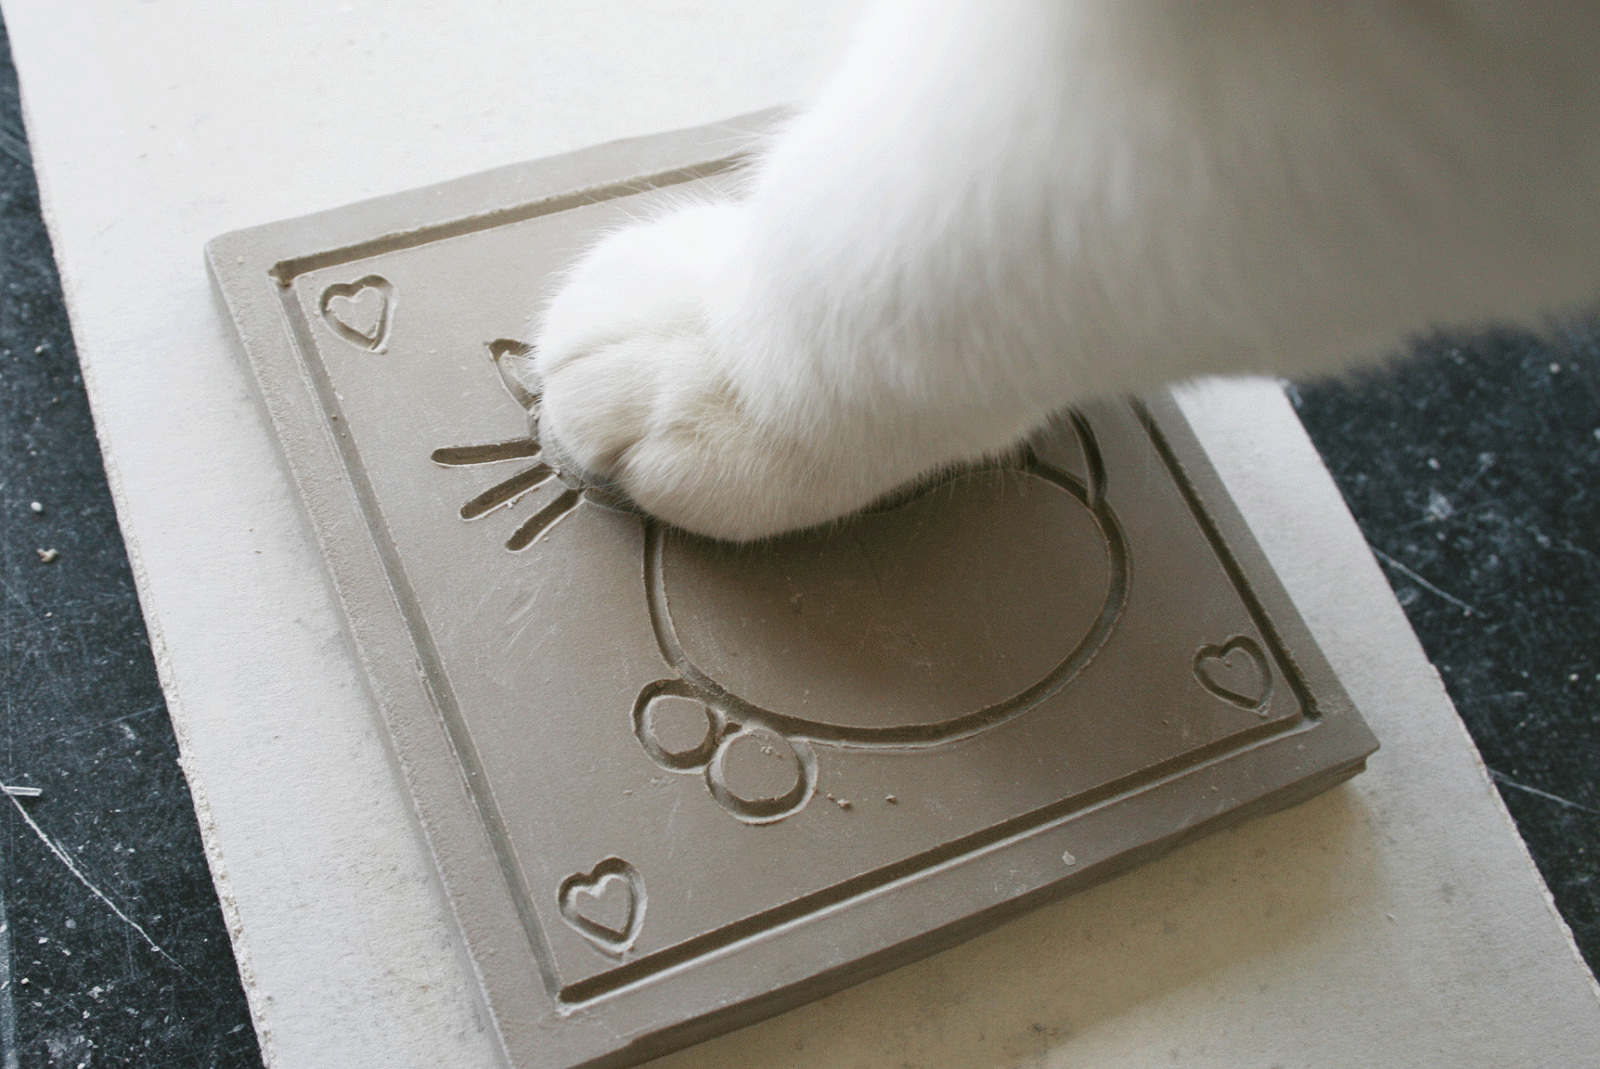
Of course, I'd never get anything done without Abbey's help.

Abbey gives the finished tile her stamp of approval. My kitty digs this cat tile!

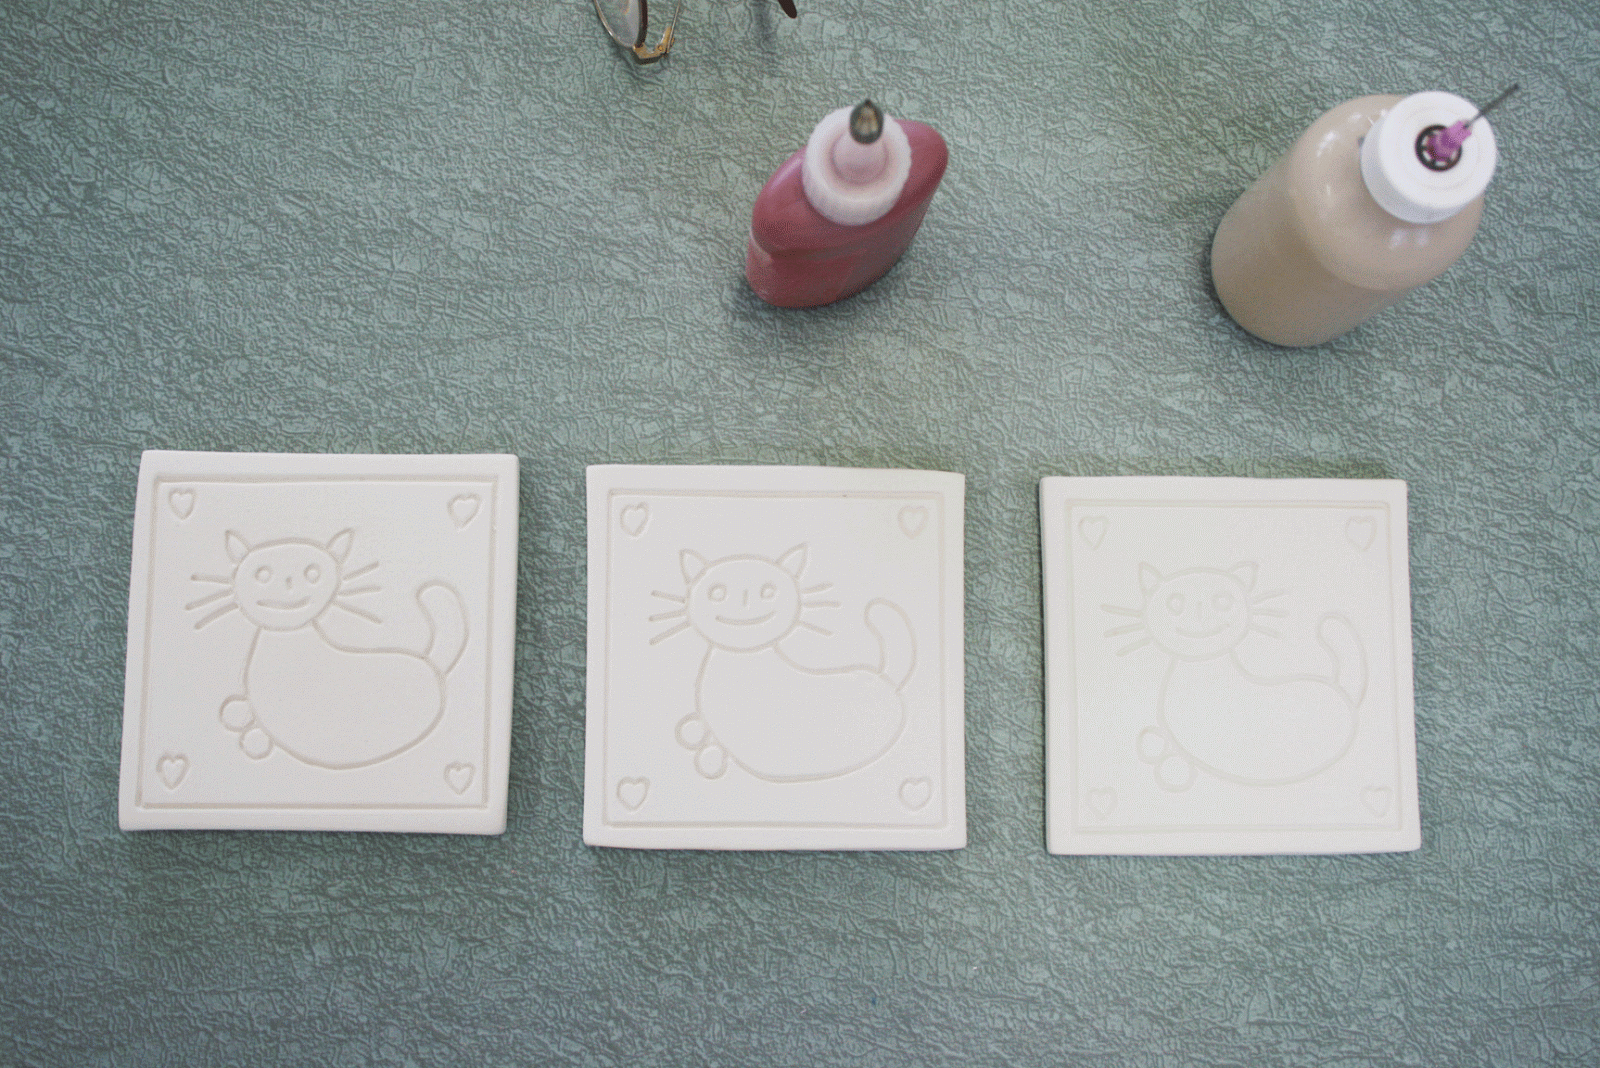
After the bisque firing the tiles are on the glaze table ready to be glazed. I use slip bottles to glaze the details, as I need to keep the grout lines clear of glaze, so the grout will stick in the lines.

I needed 2 tiles, so I made 3, just to have one to practice on, and just in case.....

I'm using high fire matte glazes, so they won't run into the lines. Now just to keep a steady hand!

This is a maize brown matte glaze. I'm using a cream matte for the other details, and the second tile will have the opposite glazing combination.

Glazing the cream details.

One of the glazed tiles before firing.

Here are the 3 glazed tiles in one of the tile cranks, on their way to the kilns for firing.

The finished tiles. I used a neutral brown grout to fill in the lines of the tile on the right, just so that I could see what it will look like after grouting. The customer will use a dark green grout, and I'm looking forward to seeing her finished project!

Have an idea for a custom tile? Send me a convo through my Etsy shop or email me at lestile@nycap.rr.com.

Labels: , , , , , ,

Sunday, February 5, 2012

A little trip to NYC

I interrupt the regularly scheduled program - of tile reproduction - to present a slice of NYC, which Don and I enjoyed last Thursday and Friday. We drove down to the City on Thursday afternoon for a Friday presentation with a group of outstanding architects. Our room was right in Union Square, and we enjoyed an evening out - check out the elephant standing on his trunk.

Friday brought a beautiful, sunny day. The wind was chilly, but, hey - it is February, after all. A very strange, unusually warm, February, but I'll take it. Due to space limitations at the meeting, I chose to sit out while Don presented. The meeting was in Soho, which gave me the opportunity to check out the William Bennett Gallery on Greene Street. I was greeted by some amazing etchings and lithos by Dali. My favorites were from his Alice in Wonderland series, especially "The Pig sends in a Little Bill"
Salvador Dali "The Pig sends in a Little Bill" 1969 from edition of 2,500. $2,950.00

Among the other art on the wall were 1970 aquatints by Picasso, etchings by Chagall, 1970's work by Miro, and 4 stunning etchings by Rembrandt, circa. 1657-58.

Stepping back out into the bright sunlight I headed to Pearl Paint to wander about the tools and supplies of artists who will create the next masterpiece. There is magic and mystery in that building, and the potential of a great workout, if you must explore all the way to the 4th floor.

Chocolate Mice
After the meeting and a quick lunch, we headed up to the Flat Iron building to drop samples off at our distributor, Waterworks. Where we should have our afternoon tea break didn't even need discussion, as we were standing in front of L. A. Burdick Chocolate Shop and Cafe. Oh my, oh my goodness! I sampled the Coconut Torte, Don had the Harvard Square, and guess what I'm getting as a Valentine's gift....

Our last stop of the day before heading back upstate was the Neue Galerie on 86th, across from the Met. They offer free admission on every first Friday of the month from 6 pm to 8 pm, and a lot of people were there to enjoy. That would have been fine, except for the fact that the line wrapped around one side of the building and they were only letting in 5 people at a time. Forty five minutes later we were admitted and it was so worth the wait. The current show is Selections from the 3rd century b.c. to the 20th century from Germany, Austria, and France. We started in a gallery lined with armor for the field and tournament 1610-13. Full armor suits are on display, along with extraordinary face masks for both men and horse. The center cases displayed weapons that Peter Jackson must have been inspired by! Swords and battleaxes so large that we wondered what size man could have wielded them.
Armor for the Field and Tournament
1610-13
Made for the Duke Friedrich Ulrich of Brunswick, Greenwich
Steel, etched, blued, and gilt; leather, textile
The Ronald S. Lauder Collection, New York
Pair of gauntlets lent by The Metropolitan Museum of Art, Gift of William H. Riggs, 1913

The next room drew me instantly in, as the far wall was filled with Kandinskys - the largest "Composition V, 1911.
Vasily Kandinsky Composition V, 1911

 I spent most of the next 10 minutes just standing and filling up on this amazing piece. OK - of course, you can't tell, but I just got lost again, just looking at the digital version. Works by many other outstanding artists are included. This exhibit only lasts until April 2nd - so run over quickly to see the show now.

A lot of inspiration in a short amount of time.

Now back to the regularly scheduled program! Carving and plaster mould making for a reproduction Victorian tile!


Labels: , , , , , , , , , , ,

Wednesday, November 9, 2011

Part 3 of Reproducing a Victorian Tile.

Ok - I've got the original tile, or at least a photo of what needs to be carved. I've formatted the image to a larger size to compensate for the shrinkage of the clay body. Now I need the materials for creating a reproduction of the tile. There are many different materials that can be used to create the master tile that moulds will be made from. Some include clay, plasticine, plaster, beeswax, jeweler's wax.....I prefer "holy wax".

My Mom helps clean her church - St. Augustine's in Lansingburgh, NY - and has been saving the candle discards for me for 30 years now.

I have many, many, many boxes of candles of all shapes and sizes - but a LOT of these  partially used vigil tapers.

I use this great old electric pot to melt my wax in, and set it at about 200* F to melt the wax. There's always some "starter" wax in the bottom left over from the last pour.

I add more candles to fill the pot up about 1/2 way full. It's about a quart of wax altogether.

I use a wooden kabob stick to stir the wax - everything melts together in about 10 minutes.

At this point I usually add a red candle to color the diluted wax. It took me about a year to decide what color I liked to carve the best. A light "emberglow" seems to be the easiest and most soothing on my eyes. I used to carve a light tone of lavender, but the wax moved itself towards more honeysuckle tones all by itself, and I let it go where it wanted to. I did discover early on that blue and green didn't work for me at all. And - never, ever, ever, add scented candles to the mix - big mistake.

When the wax is just about all melted I add stearic acid - about 1/2 cup to 1 quart of wax - but try it out for yourself to find the mix you like. It makes for a harder, more durable wax (but it won't save the wax from melting in the mid-day sun...so if your head is made of it, watch out.....inside joke for my dear husband). Also - if you leave your wax carving on the dashboard of your car - it WILL melt.

Pulling out the wicks from the melted candles.

I pour my wax, and have been for 30 odd years - into this enameled pan. It has a very smooth surface and is easy to level when I pour the wax into it. I heat it up over the hot wax for 3-4 minutes, so that when I pour the wax into the pan it melts smoothly onto the surface rather than cooling immediately and leaving pouring marks. Learned that one the hard way.

I lay the pan onto paper or cardboard, which helps to insulate it from cooling too quickly.

I unplug the electric pot and slowly pour the wax into the pan.

The wax is transparent until it begins to cool. At this point I level the pan out with folded pieces of paper. The black line around the pan has always served as a great leveling line.

I usually let the wax sit overnight to cool. It becomes opaque as it cools, and pulls away from the pan slightly. If I want to carve the same day, I'll put the pan with the somewhat solidified wax into the refrigerator or freezer. Cooling the wax quickly creates a very interesting textured look and feel to the back surface, but I prefer a nice smooth back. I always carve from the front - or the surface that has been against the enameled pan.

The wax just pops right out of the pan.

Almost as good as a large slab of dark chocolate...this baby is ready to be carved upon!

So - there you have it. Now that you know how to prepare a slab of wax for carving..what are you waiting for? Send me photos of your wax slab and what you're working on, I'd love to see!

Next up - I might have to add a bit of somewhat related art history here...or maybe I'll just jump right into the thick of it with the tools I use and how I start the art.

Stay tuned!

Labels: , , , , , ,

Saturday, November 5, 2011

Anatomy of Recreating a Victorian Tile

We've been recreating Victorian and Craftsman style fireplaces for 32 years now, and it is one of my favorite things to do. I thought it would be fun to walk you through the process from start to finish on this project....so here's the start of it!
Original tiles from fireplace hearth

It all starts with either an e-mail or phone call from a potential customer, inquiring about the process and costs involved. We need to see the tile in question, to get an idea of complexity of carving and glaze matching. An e-mailed photo is OK, but we really need to have an actual tile in hand to make a good reproduction.


Close-up of original tile detail
The original tiles are usually covered in dirt and grime, and have the highest raised details worn off through the glaze and clay surfaces. I start with a good scrub with a plastic scrubby using just soap and water. If the tiles have been painted or varnished over, I use a wooden rib to scrap those off the surface.

 
After cleaning and re-firing the original tile
After cleaning the tile I re-fire it in the kiln to a very low temperature to burn off the debris that has absorbed into the unglazed clay body of the tile.
Above - an original tile / Below - an original tile cleaned and re-fried
Next up - Scanning the tile and reformatting for carving.

Labels: , , , , , ,

Saturday, September 24, 2011

Saturday Song of the Day 9/24/11

I told you that I'd get this song stuck in my head....that's OK...because it's just so great! Enjoy!

Labels: , , , ,

Wednesday, May 18, 2011

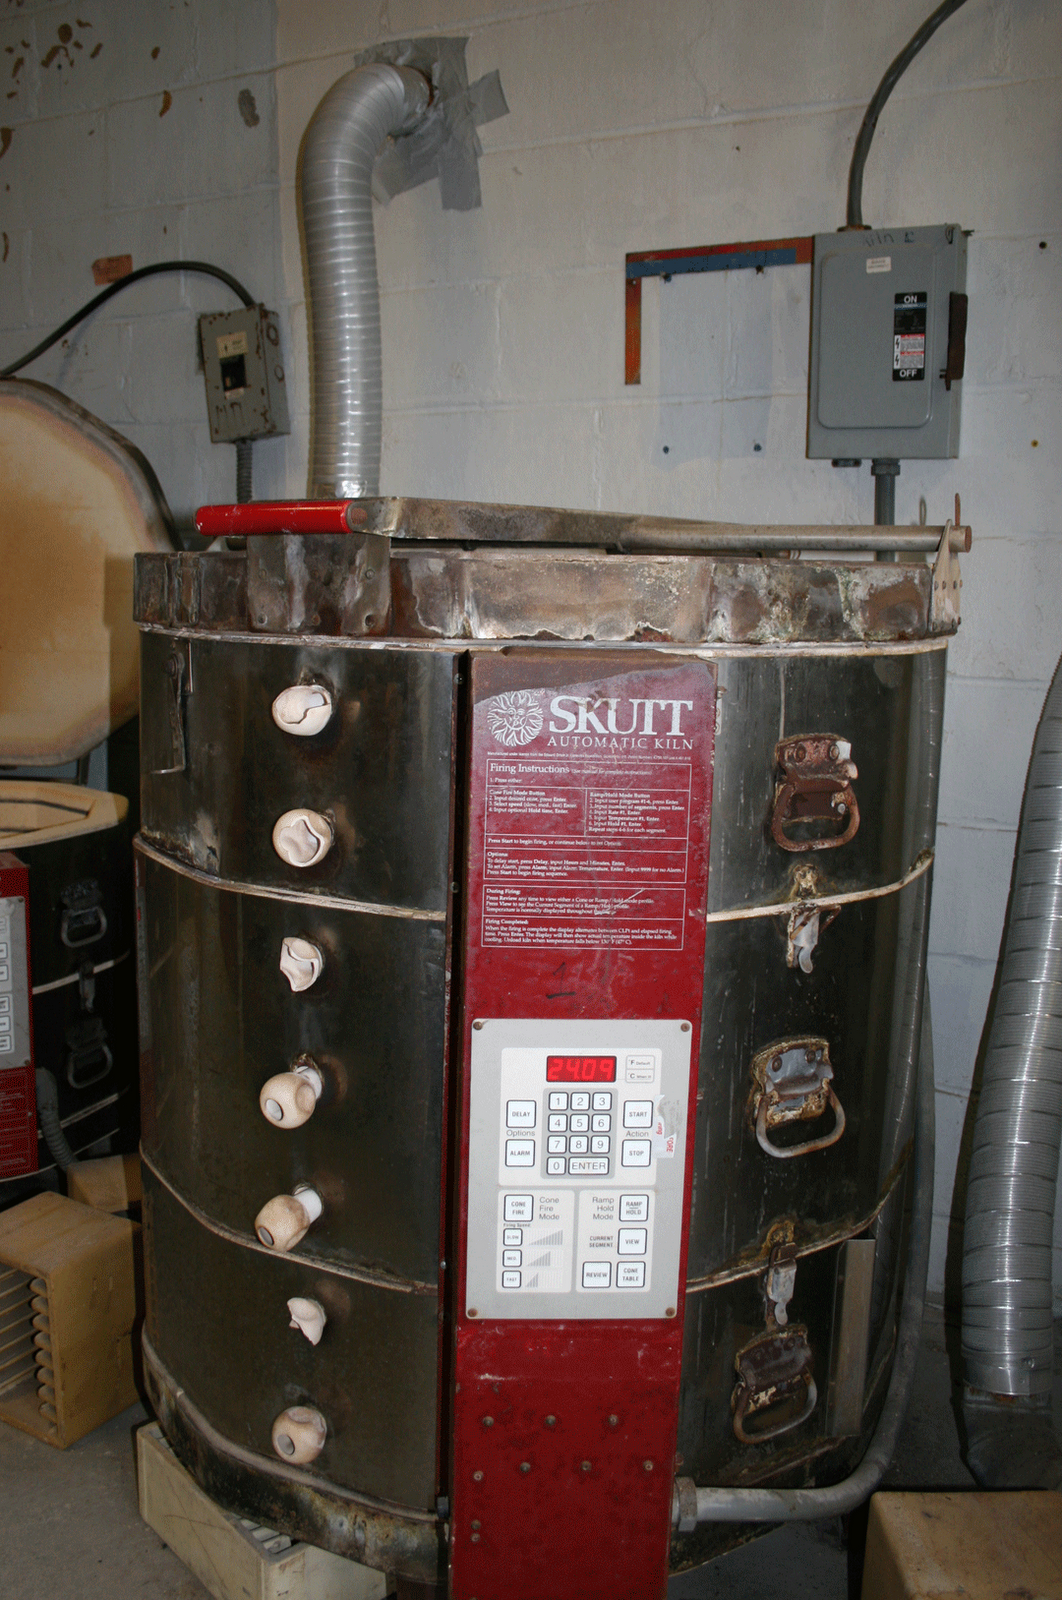
The Kiln Room at L'esperance Tile

It's not always pretty, or completely organized, but the kiln room is certainly the hot spot of our ceramics studio. We love the heat source in the winter, but aren't as thrilled with the added temps in mid August.

Seven kilns rotate firings, depending on the size of the orders in our shop.

We have two separate electric services to our building, one is on a demand meter. We rotate our firings in the hopes of keeping it at only one - demand meters can add a substantial cost to the electricity that we buy.

We have kiln logs for each kiln, in which we write down the date, the cone or program it's firing to, what's in the kiln, and the end time and temperature of each firing. When a kiln takes overly long it's notated in red and gets a check-up and band-aid for what ails it.


For really large orders it's important to plan ahead to keep the kilns firing to capacity in an organized system.


Each kiln is vented and we have a large exhaust fan at the top of the windows to pull out the heat and fumes when needed.

A movable metal shelf holds kiln furniture, but most of our tiles fire on tile cranks. We cut up old kiln shelves and tile cranks to create stilts for the shelves for bisque firing.

And I love my welders gloves - I can pull tiles out of 350• kilns with those babies!

Any questions? Ask away!!

Labels: , , , ,