How do I make my plaster moulds? Honestly.....not with a lot of enthusiasm.
Plaster is not my favorite material to work with....in fact plaster and I don't really enjoy each other very much. If I can, I let someone else make my moulds for me, but that's usually for large production runs. If I only need a few tiles for custom orders, then I just suck it up, get the apron and gloves on, and mix it up.
 |
| I set my wax on a thick pane of glass, which gives me a level surface to pour the plaster on. |
 |
| I brush a thin coat of vegetable oil onto the wax to help the plaster separate from it. |
 |
| I use plastic slats to create the frame that the plaster will be poured into. I seal the edges with soft clay. |
 |
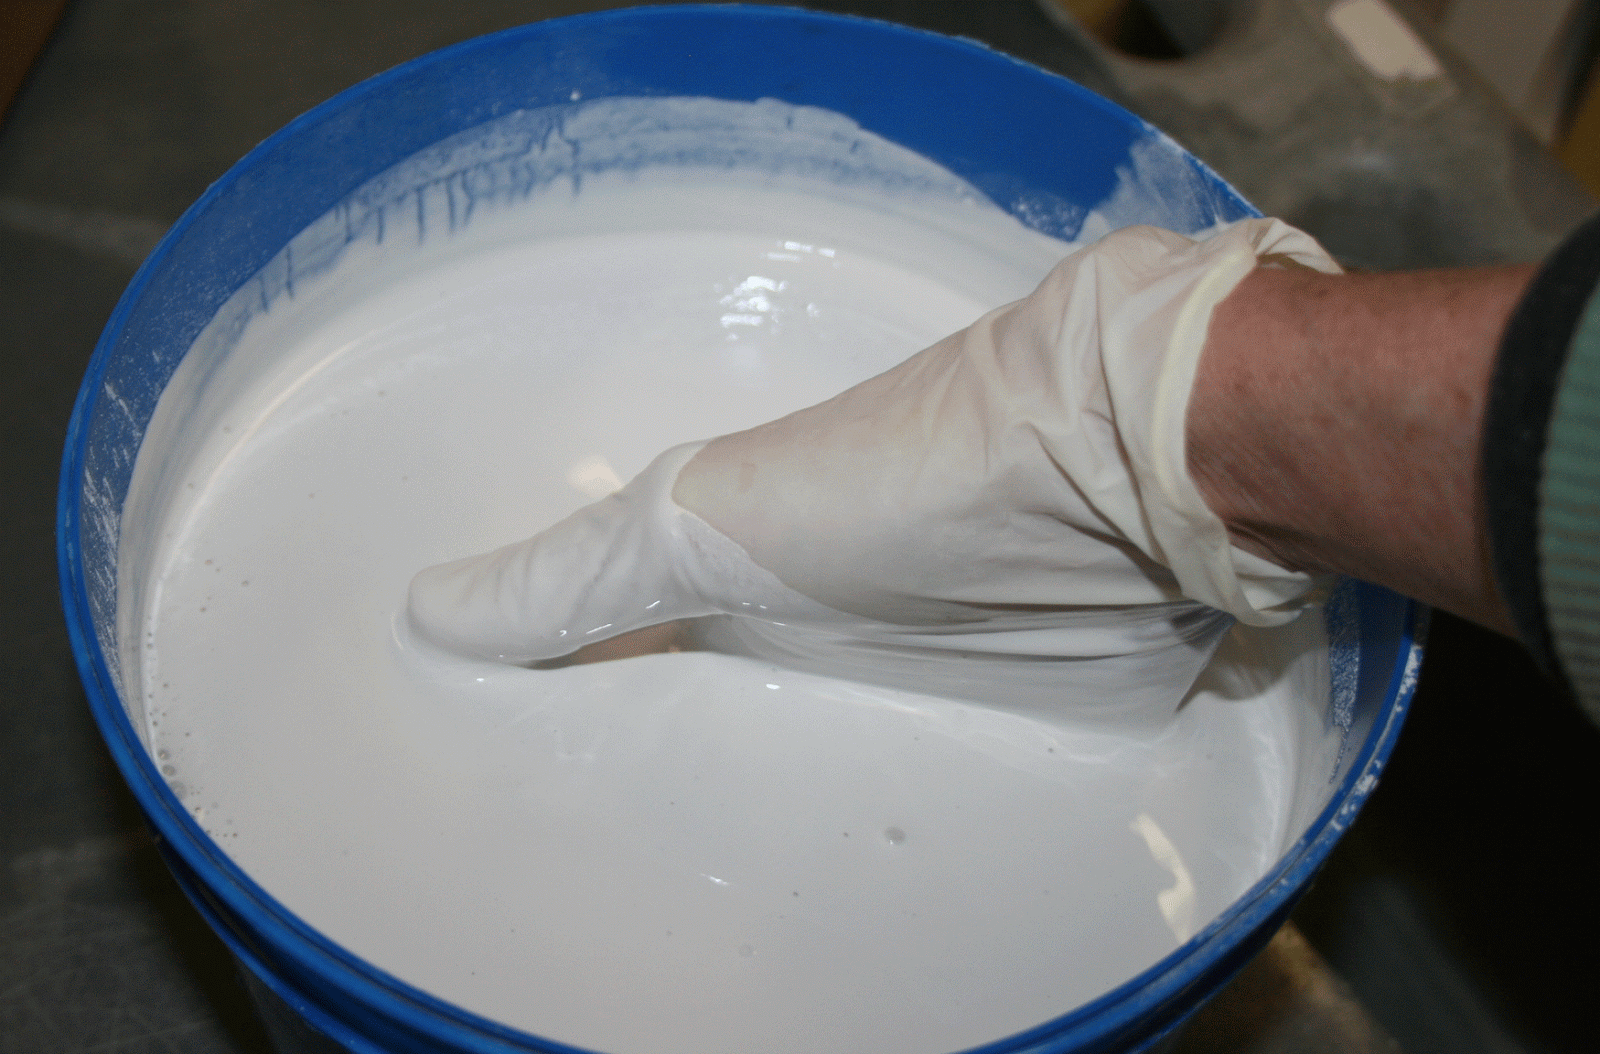
| Mixing the plaster. I use the intuitive method of mixing the plaster into the water - add the dry plaster to the water until it makes dry islands just above the level of the water. Then I let it slake for a few minutes and stir for 8-10, while impatiently waiting for the perfect moment to pour. |
 |
| I overfill the frame and let the plaster stiffen while I clean up the mixing bucket and messy spills. |
 |
| When the plaster just begins to harden I use another plastic slat to level the it to the top edge. This ensures a consistent thickness and level to the mould. |
 |
| Surface and edges are clean and now I just have to wait for the plaster to finish setting up. I take care not to go far because I've found that the plaster can get hot enough to warp the wax. I release it when it's hot to the touch. |
 |
| A lovely sight is a just released plaster that has NO bubbles and every detail is in perfect form. This one turned out great. |
Now that I have a working mould, I'll let it dry for a day or two and then...onto pressing the tiles!
Labels: fireplace restoration, L'esperance Tile Works, linda ellett, recreating fireplace tile, replacing a missing fireplace tile, reproducing Victorian fireplace tile, tile reproduction, Victorian reproduction


3 Comments:
I am so impressed with the detail you can pull out by working with the wax.
Again in another life time- or when the body can no longer throw pots---maybe tiles full time.
thank you so very much for the share!
Hi Meredith - Thank you again! I'm happy to share and I really appreciate your following along!!
You did a good job making a mold for your Victorian tiles and cleaning one of its original tiles. The flowery and geometric designs look so intricate and stylish they can be placed in both antique and modern houses. That would make a perfect accent in any room or space.
Kathy Carbone
Post a Comment
Subscribe to Post Comments [Atom]
<< Home