Saturday, April 11, 2015

Bringing a well preserved antique fireplace back to perfection - part 2

In this follow-up post I was going to show you the carving process from start to finish. Unfortunately I had a devastating hard drive failure and my back-up was mostly corrupted, so I lost some of the layout photos. You can find the process in some past posts - like here -

Layout of image

I did make a short video of carving - it looks as though I'm in fast motion, but it was real time....I guess I was in a hurry to make it a short video!


The finished wax with original shard and enlarged print-outs of the image.

Setting up the frames around the wax for pouring the plaster mould.

Plaster poured and leveled.

Plaster released from the mould.

Touching up a few small bubbles in the plaster.

Wax original and plaster mould.

It was a great first pouring of the plaster. Unhappily, all the photos of pressing the tile, bisque tiles, and glazing are lost. But I am waiting for the completed installation shots from the customer and I'll post those when I am able.

Thanks so much for reading and please contact me directly at lestile@nycap.rr.com if you have any questions, or if you have a tile that you would like reproduced or custom carved.

Visit our webpage at L'esperance Tile Works or at my Etsy shop - have a wonderful day!! 


Labels: , , , , , , , ,

Sunday, February 8, 2015

Bringing a well preserved antique fireplace back to perfection!

We create many fireplaces using our large inventory of moulds that have been created to reproduce antique tiles. New design are being added constantly, due to the many requests we have to help customers bring their antique fireplace back to it's original splendor. Following is a current project that highlights the steps that we take to "make it so".

Inquiries begin with either an e-mail through our website,  L'esperance Tile Works, or a phone conversation requesting information and pricing. If the pattern that needs to be reproduced isn't already in our catalogue, then we'll need a really good photograph with a straight on perspective, or most preferably, an actual tile. Cost ranges from $500.00 - $1200.00 to create a reproduction, depending on the depth of caving and intricacy of the pattern.

The reproduction that I'll highlight in this and the following posts, is a tile originally from the JG Low Art Tile Company, border # X23 on page 4. The fireplace in question needed only a few pieces of the border, but the process is the same whether it's a few pieces, or a full fireplace border.

The fireplace is situated in a bedroom in a condo in Portland, Maine.


All tiles are original from the JGLow Art Tile company, circa 1904.


Amazing how well preserved this gorgeous fireplace is!


You can see a full tour of the house here

http://tours.wave5productions.com/public/vtour/display/288184

The customer sent us some closeup photos of the tiles, along with a small fragment of one of the originals that had broken. The mission was to recreate the tile and match the glaze.

This photo is a clear, straight on view of the border tiles.

Original tile fragment

To match the glaze as closely as possible an original tile is needed. Images sent via e-mail or from the web aren't true enough due to the variations in monitors and camera settings.

Glaze library with some blues

After I receive the original tile I go to my glaze library which has accumulated tests over the last 35 years! I can usually find a very close match from there, however, that is just the starting point. I'll mix 2-3 small batches of the glaze formulas and test them on some decorative and field tiles - usually seconds that are warped or cracked. After confirming that the recipe is still in the range, I'll then mix a batch large enough to glaze the entire order. That batch also gets tested, and altered if need be.

Two of the closest glazes mixed

I'll then send my closest matches to the customer for approval. In this case I had 2 that were very close, but sometimes the tone of the glaze will change when set next to the originals on site. Since the glaze match usually happens while the carving is in process, I'll use another border to show how the glaze will sit on the details. My glaze flows away from the high points and settles darker in the recessed areas - very similar to the glazes I'm attempting to match.

We got and overwhelming approval of glaze "B" - the one on the bottom.

I'll show the carving process in the next post,  so stay tuned!

Thanks so much and please contact me directly at lestile@nycap.rr.com if you have any questions about the process, or if you have a tile you would like reproduced.


Labels: , , , , , ,

Sunday, March 25, 2012

No. Nine - Victorian fireplace tile reproduction...glazing a mottled tile

The set of tiles that I was tasked with reproducing are glazed in what was called "mottled" or "sponged" glazing. It was a very popular type of glazing for both the field tile and the decorative banding, although I think it tends to obscure the details in the decorative tiles too much.
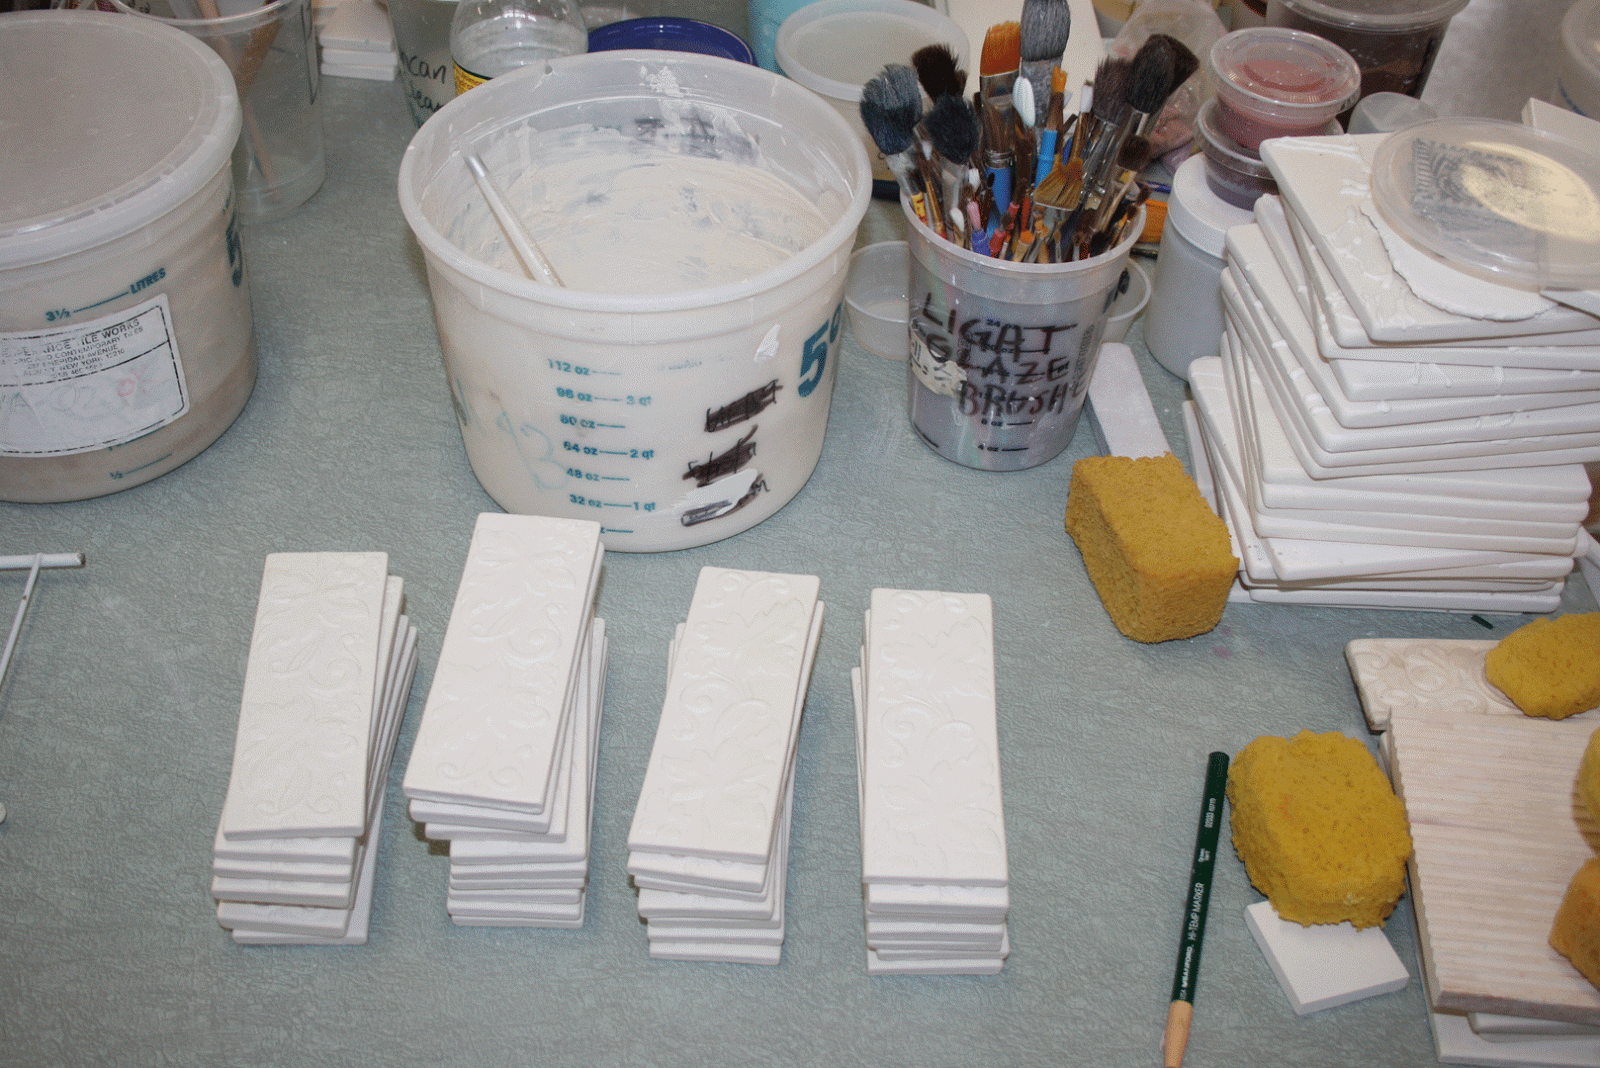
The decorative tiles on my glaze table. The first step is to figure out what the base glaze is, and how thickly it should be applied to allow the other colors flow into it. These tiles have a slightly yellow base on them.

I brush the base glaze onto the tile.

A thick even coat dries quickly and is ready for the next step.

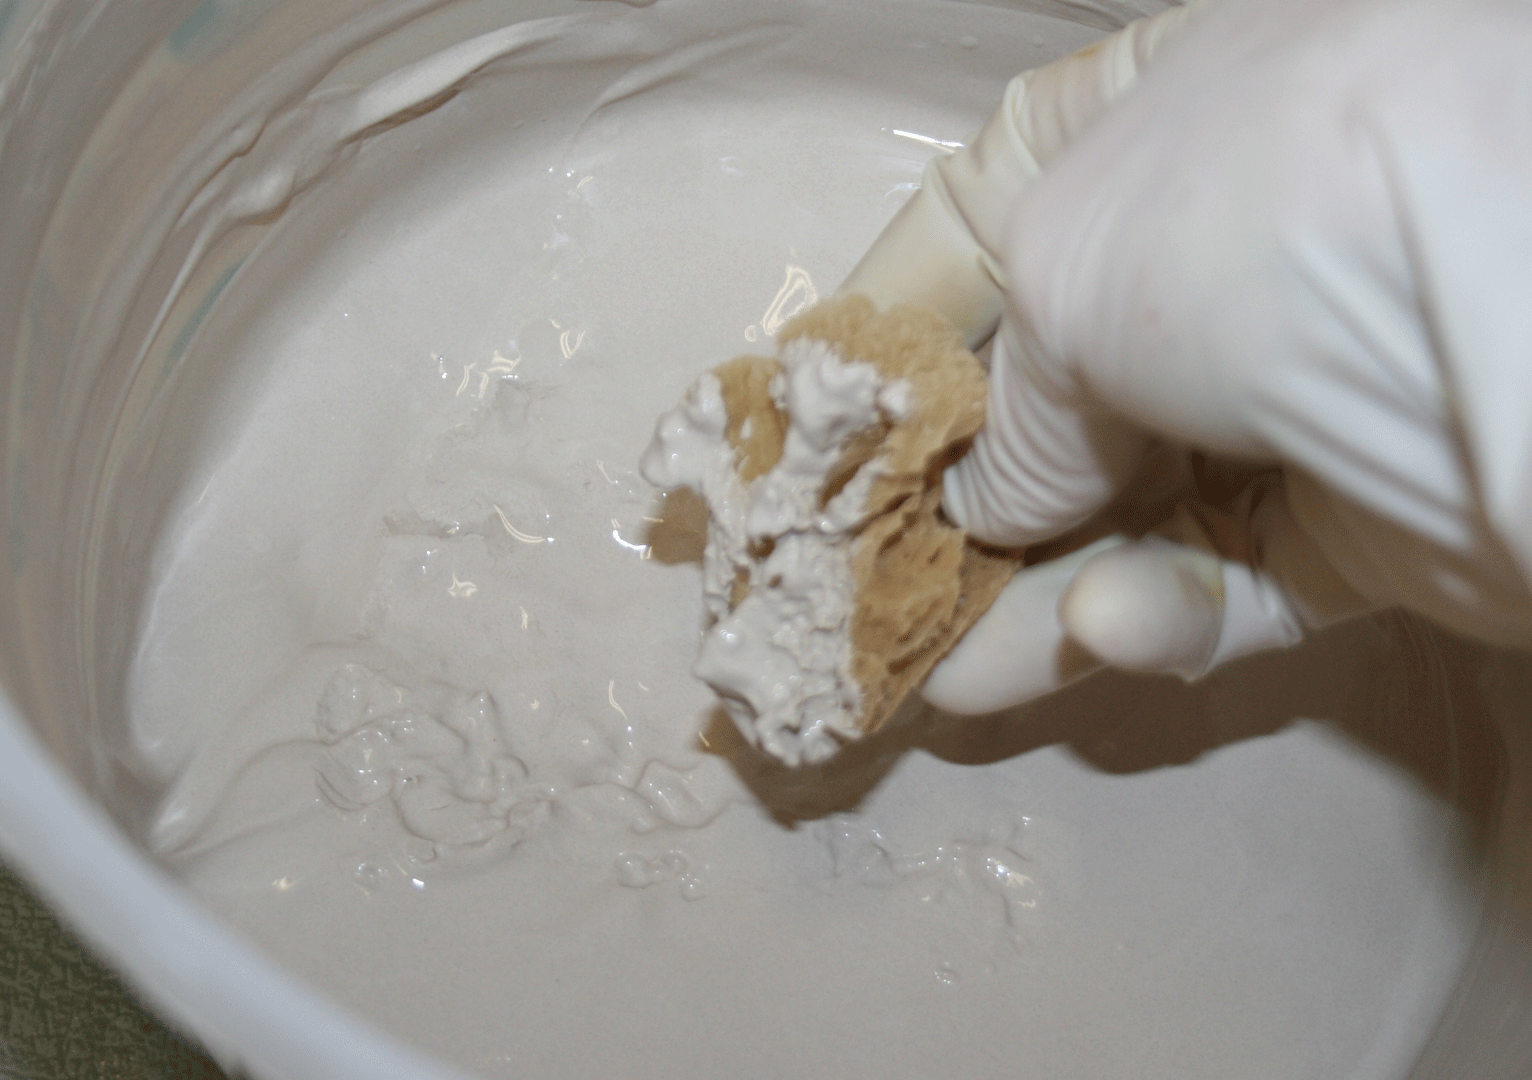
I use a small natural sponge to apply the contrasting color, hence the name for this style of glazing - "sponged tiles"!

The sponge actually creates the pattern that will remain visible even after the glaze firing has melted the two glazes into each other.

Here are the coordinating field tile that will fill in the remaining area of the fireplace hearth. They get the same glaze treatment of hand painted base glaze with sponged glaze details on top.

The top tile is the original piece, uncleaned with dirt and debris. The center tile is my reproduction. The bottom partial tile is an original tile that I cleaned and re-fired to a very low temperature to remove the cement and varnish. It lightened up the glaze slightly, and the client decided to have me match that glaze rather than the more yellow one with darker maroon details.

I was very happy with the finished tile and it got a thumbs up from the customer, so all's well so far! They have just ordered more field tile to add to the interior firebox, which I'm hoping will ship this week. As soon as I get photos of the finished fireplace I'll post them.

I hope you've enjoyed my series on reproducing a Victorian tile, and please let me know if you have any questions about the techniques that aren't clear enough.

Happy Tiling!!

Labels: , , , , ,

Tuesday, March 6, 2012

My Tile reproduction....Part 7

How do I make my plaster moulds? Honestly.....not with a lot of enthusiasm.

Plaster is not my favorite material to work with....in fact plaster and I don't really enjoy each other very much. If I can, I let someone else make my moulds for me, but that's usually for large production runs. If I only need a few tiles for custom orders, then I just suck it up, get the apron and gloves on, and mix it up.
I set my wax on a thick pane of glass, which gives me a level surface to pour the plaster on.

I brush a thin coat of vegetable oil onto the wax to help the plaster separate from it.

I use plastic slats to create the frame that the plaster will be poured into. I seal the edges with soft clay.

Mixing the plaster. I use the intuitive method of mixing the plaster into the water - add the dry plaster to the water until it makes dry islands just above the level of the water. Then I let it slake for a few minutes and stir for 8-10, while impatiently waiting for the perfect moment to pour.

I overfill the frame and let the plaster stiffen while I clean up the mixing bucket and messy spills.

When the plaster just begins to harden I use another plastic slat to level the it to the top edge. This ensures a consistent thickness and level to the mould.

Surface and edges are clean and now I just have to wait for the plaster to finish setting up. I take care not to go far because I've found that the plaster can get hot enough to warp the wax. I release it when it's hot to the touch.

A lovely sight is a just released plaster that has NO bubbles and every detail is in perfect form. This one turned out great.

Now that I have a working mould, I'll let it dry for a day or two and then...onto pressing the tiles!

Labels: , , , , , , ,

Saturday, November 5, 2011

Anatomy of Recreating a Victorian Tile

We've been recreating Victorian and Craftsman style fireplaces for 32 years now, and it is one of my favorite things to do. I thought it would be fun to walk you through the process from start to finish on this project....so here's the start of it!
Original tiles from fireplace hearth

It all starts with either an e-mail or phone call from a potential customer, inquiring about the process and costs involved. We need to see the tile in question, to get an idea of complexity of carving and glaze matching. An e-mailed photo is OK, but we really need to have an actual tile in hand to make a good reproduction.


Close-up of original tile detail
The original tiles are usually covered in dirt and grime, and have the highest raised details worn off through the glaze and clay surfaces. I start with a good scrub with a plastic scrubby using just soap and water. If the tiles have been painted or varnished over, I use a wooden rib to scrap those off the surface.

 
After cleaning and re-firing the original tile
After cleaning the tile I re-fire it in the kiln to a very low temperature to burn off the debris that has absorbed into the unglazed clay body of the tile.
Above - an original tile / Below - an original tile cleaned and re-fried
Next up - Scanning the tile and reformatting for carving.

Labels: , , , , , ,