Sunday, March 25, 2012

No. Nine - Victorian fireplace tile reproduction...glazing a mottled tile

The set of tiles that I was tasked with reproducing are glazed in what was called "mottled" or "sponged" glazing. It was a very popular type of glazing for both the field tile and the decorative banding, although I think it tends to obscure the details in the decorative tiles too much.
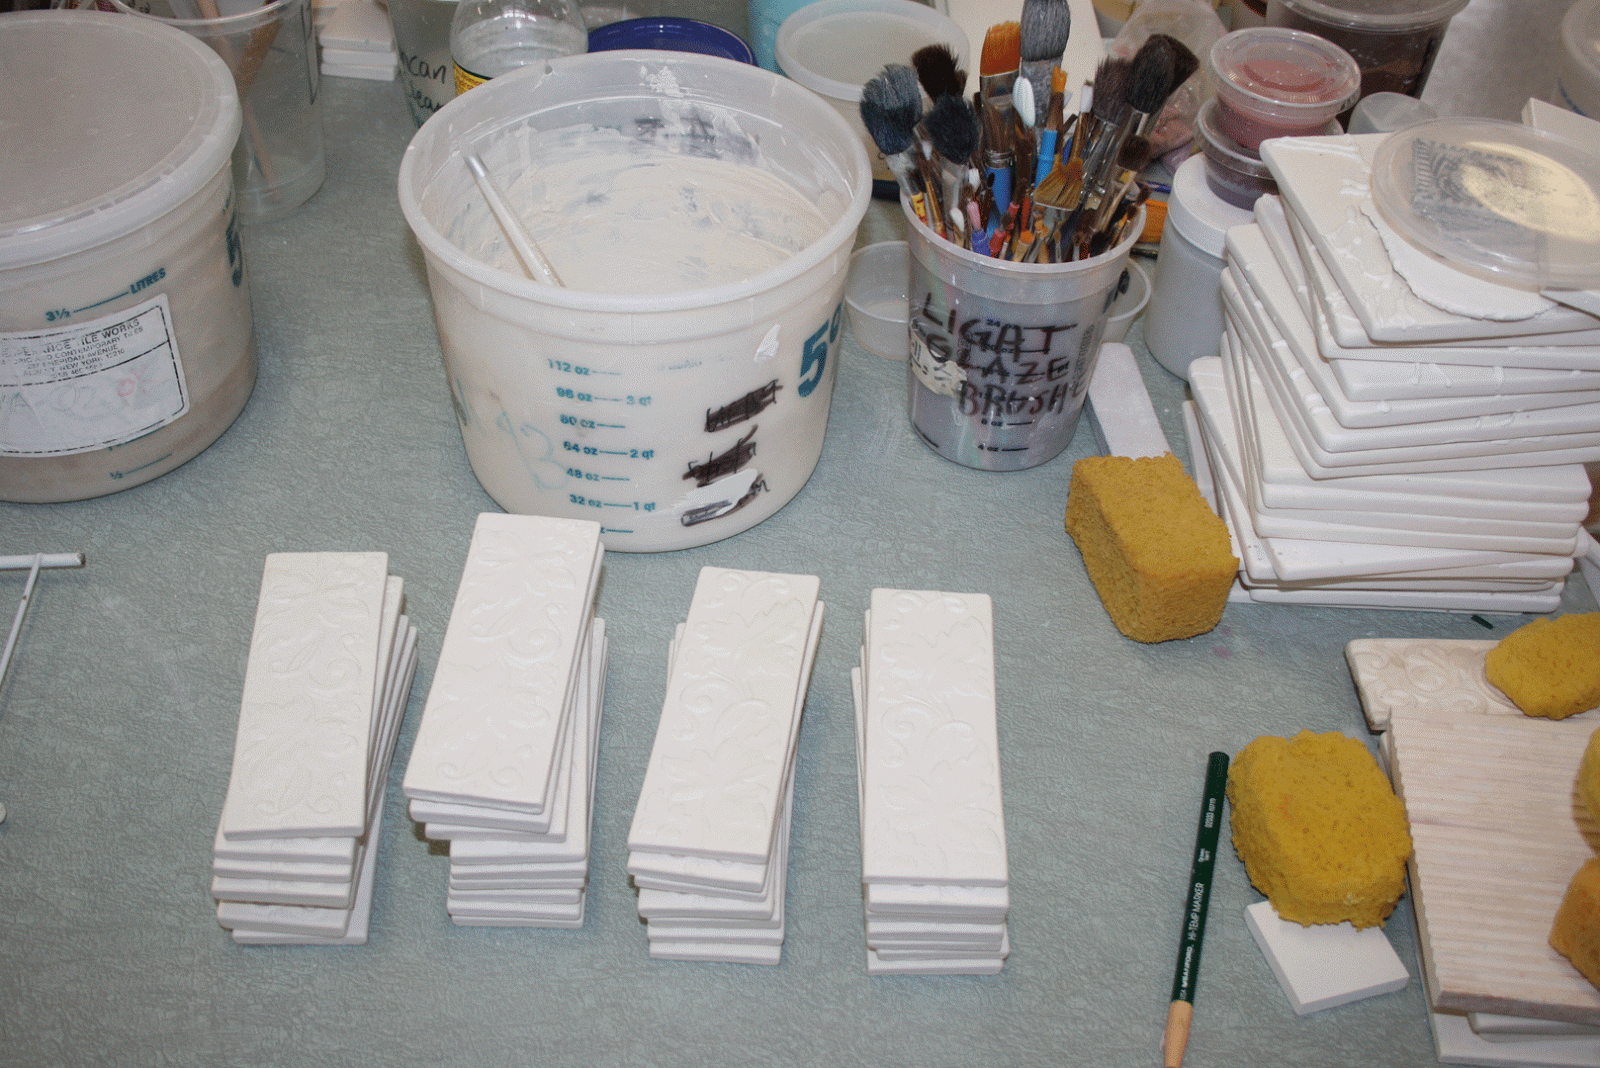
The decorative tiles on my glaze table. The first step is to figure out what the base glaze is, and how thickly it should be applied to allow the other colors flow into it. These tiles have a slightly yellow base on them.

I brush the base glaze onto the tile.

A thick even coat dries quickly and is ready for the next step.

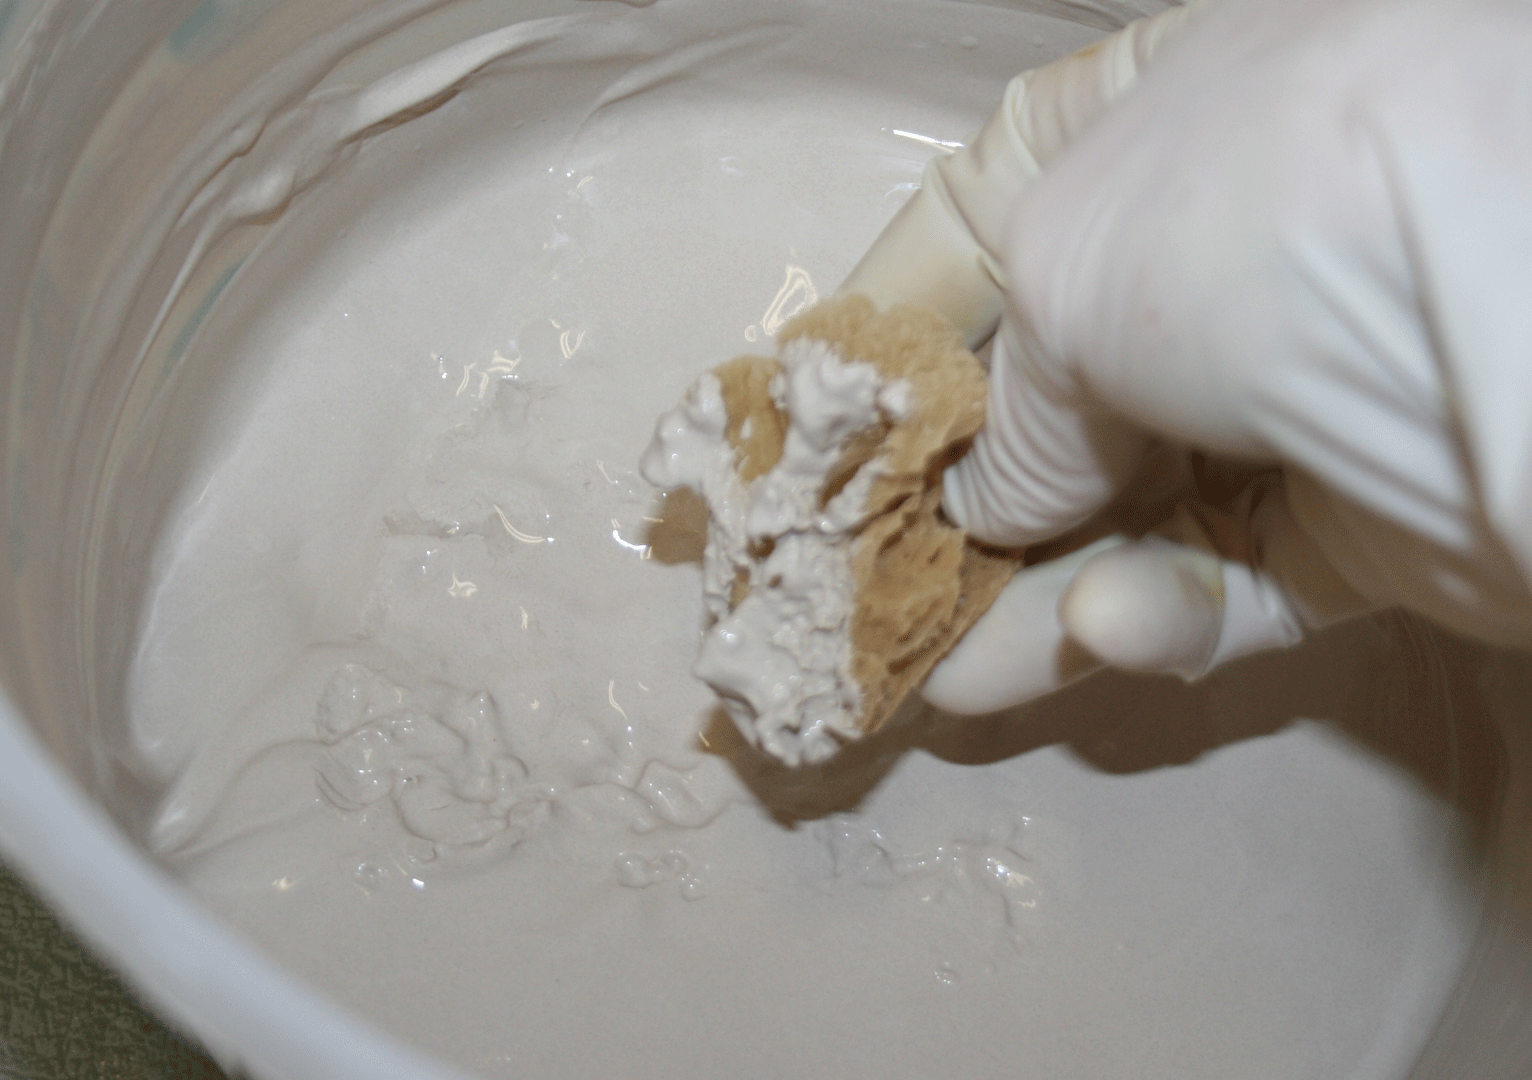
I use a small natural sponge to apply the contrasting color, hence the name for this style of glazing - "sponged tiles"!

The sponge actually creates the pattern that will remain visible even after the glaze firing has melted the two glazes into each other.

Here are the coordinating field tile that will fill in the remaining area of the fireplace hearth. They get the same glaze treatment of hand painted base glaze with sponged glaze details on top.

The top tile is the original piece, uncleaned with dirt and debris. The center tile is my reproduction. The bottom partial tile is an original tile that I cleaned and re-fired to a very low temperature to remove the cement and varnish. It lightened up the glaze slightly, and the client decided to have me match that glaze rather than the more yellow one with darker maroon details.

I was very happy with the finished tile and it got a thumbs up from the customer, so all's well so far! They have just ordered more field tile to add to the interior firebox, which I'm hoping will ship this week. As soon as I get photos of the finished fireplace I'll post them.

I hope you've enjoyed my series on reproducing a Victorian tile, and please let me know if you have any questions about the techniques that aren't clear enough.

Happy Tiling!!
Labels: , , , , ,

Tuesday, March 6, 2012

My Tile reproduction....Part 7

How do I make my plaster moulds? Honestly.....not with a lot of enthusiasm.

Plaster is not my favorite material to work with....in fact plaster and I don't really enjoy each other very much. If I can, I let someone else make my moulds for me, but that's usually for large production runs. If I only need a few tiles for custom orders, then I just suck it up, get the apron and gloves on, and mix it up.
I set my wax on a thick pane of glass, which gives me a level surface to pour the plaster on.

I brush a thin coat of vegetable oil onto the wax to help the plaster separate from it.

I use plastic slats to create the frame that the plaster will be poured into. I seal the edges with soft clay.

Mixing the plaster. I use the intuitive method of mixing the plaster into the water - add the dry plaster to the water until it makes dry islands just above the level of the water. Then I let it slake for a few minutes and stir for 8-10, while impatiently waiting for the perfect moment to pour.

I overfill the frame and let the plaster stiffen while I clean up the mixing bucket and messy spills.

When the plaster just begins to harden I use another plastic slat to level the it to the top edge. This ensures a consistent thickness and level to the mould.

Surface and edges are clean and now I just have to wait for the plaster to finish setting up. I take care not to go far because I've found that the plaster can get hot enough to warp the wax. I release it when it's hot to the touch.

A lovely sight is a just released plaster that has NO bubbles and every detail is in perfect form. This one turned out great.

Now that I have a working mould, I'll let it dry for a day or two and then...onto pressing the tiles!

Labels: , , , , , , ,

Monday, November 7, 2011

Reproducing a fireplace tile - part 2 - formatting the image

As I walk you through the process of reproducing a Victorian tile, I'll try not to leave any of the steps out - which I'm finding is actually hard for me since I zip through the first steps without much thought!

Scanning the tiles.
After cleaning the tile to see the details, I scan the tile to Photoshop, where I need to  increase the size of the image by the amount that the clay will shrink after glaze firing. Our clay body shrinks 10%, so that's what I increase the image by. Then I print the image out to use as a starting guide for my wax carving.
Scanned image increased in size by 10%.
I've also cut and pasted the image at the bottom as a guide for making corners. Since the clients didn't have any corners in their original fireplace set, and I can't find an image of the original tiles anywhere, I'll be designing them myself. It always adds a nice detail to have the design wrap the edges.

At the carving table with image and original tiles.

At this point I get to head over to my carving area - my most creative and challenging spot in the whole building. As I look at the photo and the original tile, my brain begins to tell my hand how to carve it......no, not that way, this way....watch out, not too deep, make it a smoother line....

Wow, I'm glad that internal dialogue doesn't really exist!


The 10% shrinkage that I'm compensating for.

So now that the formatting is all done.....I need a nice clean piece of wax to carve the design into. Join me tomorrow when we visit with Madame Tussaud and get the secrets of making great wax!

Labels: , , , , , ,