Wednesday, December 18, 2013

Holiday giveaway to all of my wonderful customers, followers, and friends!

Last Saturday, December 14, I started listing one item in my Etsy shop for $1.00. I have so many wonderful customers, and followers on facebook, twitter (@lesperancetile), and pinterest that I just wanted to take this time to say THANK YOU!!

My first $1 tile was a tile I call an ornament tile, because I've taken one of my little ornaments and pressed it into the center of a tile after I've pressed the clay with a carved decorative motif, an Angel and Star pressed on top of a funky 4x4 called puffballs.

Congrats to Carrie!!

Sunday I had 2 winners (why not?) and they both got the $1 tile that was a reproduction for a home on the west coast that I call Daisy 3x3.
Congrats to Jenn and Kathy!!

Monday's tile is one of my favorites (it's really hard to say that - we love all of our children the same, don't we?), A raised line tile that depicts Horus, who is one of the oldest and most significant deities in ancient Egyptian religion.


Congrats to Alexis!


Yesterdays tile was one of the oldest in my tile catalogue....and that's saying a lot since I've been making tiles sine 1979!! A Celtic knot design, actually inspired by a book of Celtic images I received as a gift from someone who loved me (sorry, but who could remember who gave them a Dover book 30+ years ago?).

Congratulations, Dyani!

What will I list today? Hey, I'm not even sure yet, but since I think my holiday rush is over, it might be something really special. Follow me on facebook and twitter (@lesperancetile) and be the first to find the $1 item (plus the cost of shipping, which I try to keep as close to the actual price as possible) and it's yours!

Thanks again and again!!
XXLinda @ L'esperancwe TileXX

Labels: , , , , ,

Saturday, November 16, 2013

Making Holiday ornaments with images from the Dover Victorian Christmas collection.

It's been a while, but I'm happy to announce that I'm an official Dover Crafting Ambassador! Images from Dover books have been inspiring my tile designs for years, and now I'm happy to add a new collection of Christmas ornaments to my Etsy shop, just in time for the holidays.

Teddy bear with clown outfit from the Victorian Christmas collection.

These ornaments were created using images from the Dover Victorian Decorative Christmas Illustrations applied to my handmade ceramic tiles, and here's how I did it.

First I downloaded the collection and chose the images I wanted for my ornaments. Then I used photoshop to create a page of the images for small ornaments and 4x4" trivet tiles. The tiles were first glazed and fired and then a sheet of images was printed on decal paper with a HP laser printer.

The decal sheet is on the left, an array of tiles to be used are laid out on the right.

Cutting the image to be used for an ornament.


Here's the teddy bear.

Laying the cutout paper decal images onto the ornament tiles.

All cut out and ready to soak the decal paper.

After I've laid out all of the selected decals onto the tiles I want the images to be on, it's time to soak off the decals from their paper backing and apply to the tile surfaces.

I place the decal paper into water and soak it for about a minute, or until I can feel the paper backing releasing from the decal.

Releasing the decal from the paper backing.


It slides right off onto the glazed tile.


Here are all the tiles with decals ready to be fired on. They go into the kiln and get fired to 1950• F, fixing them permanently to the surface of the tile.

A selection of finished ornaments, some with raffia for hanging.

Thanks to Dover for inspiring my tile making for years, and for making me an Ambassador. I'll have more tutorials using images from their collections soon!!

For now you can find my decal ornaments, along with a collection of carved ornaments here, in my Etsy shop!

Thanks for listening!!

Labels: , , , , , ,

Saturday, May 5, 2012

The Martha Stewart Etsy Show - April 23, 2012

I had my 15 seconds of fame when I was an audience member at The Martha Stewart Etsy Show a few weeks ago. I received an e-mail invitation a few weeks before the scheduled taping from an Etsy administrator, and of course I said yes, thinking, there's got to be some free advertising here. Well, I sat in the top row on the side where no cameras can reach....so not so much on the free TV time....but it was fun and I got to meet some wonderful Etsy sellers.

Every audience member had a photo taken after the taping of the show. Here's mine!
Click here for the link to the photo from The Martha Stewart website.

We were told to arrive at 12:30, and not to be late...but when I showed up at 12:30 there was already a line at least 50 people long, and they had already admitted some into the building. It was a chilly, overcast day, but I made friends with Mary and Mary who were my buddies on line.

Don drove me down and he was in charge of the camera for the day, as I decided I probably wouldn't be taking photos once inside. This is his view from down the block - West 27th street between 7th & 8th.

Hmmmm......guess he's showing how tiny this sign really is.

We never left the studio until 4pm! Don and I decided we need to walk over the the Flat Iron district to find the wonderful pastry shop we discovered last time we were here a few months ago. Well...we couldn't find it but ended up in an excellent macaroon shop.

The excellent macaroon shop is Madeleine Patisserie at 132 West 23rd Street.

Here's a treasury I made of some of the sellers who were at the show.

Labels: , , , , ,

Tuesday, May 1, 2012

Anatomy of a custom tile order

One of my favorite things to do is to work with enthusiastic customers on creating custom tiles for them. A lovely Etsy customer contacted me and asked if I could create a tile of her Etsy avatar which is a variation of a Hobo sign indicating that 'a good woman lives here'. Her project was to make an address sign for her sister, using other mosaic tiles to surround the cat tile. Carving in wax is a bit pricey, so I suggested a carved line that would be filled in with grout to highlight the image. All agreed and the project is a "Go"!

I printed out the image on a sheet of paper, grabbed a freshly made 4x4" tile, and jumped into the making process.


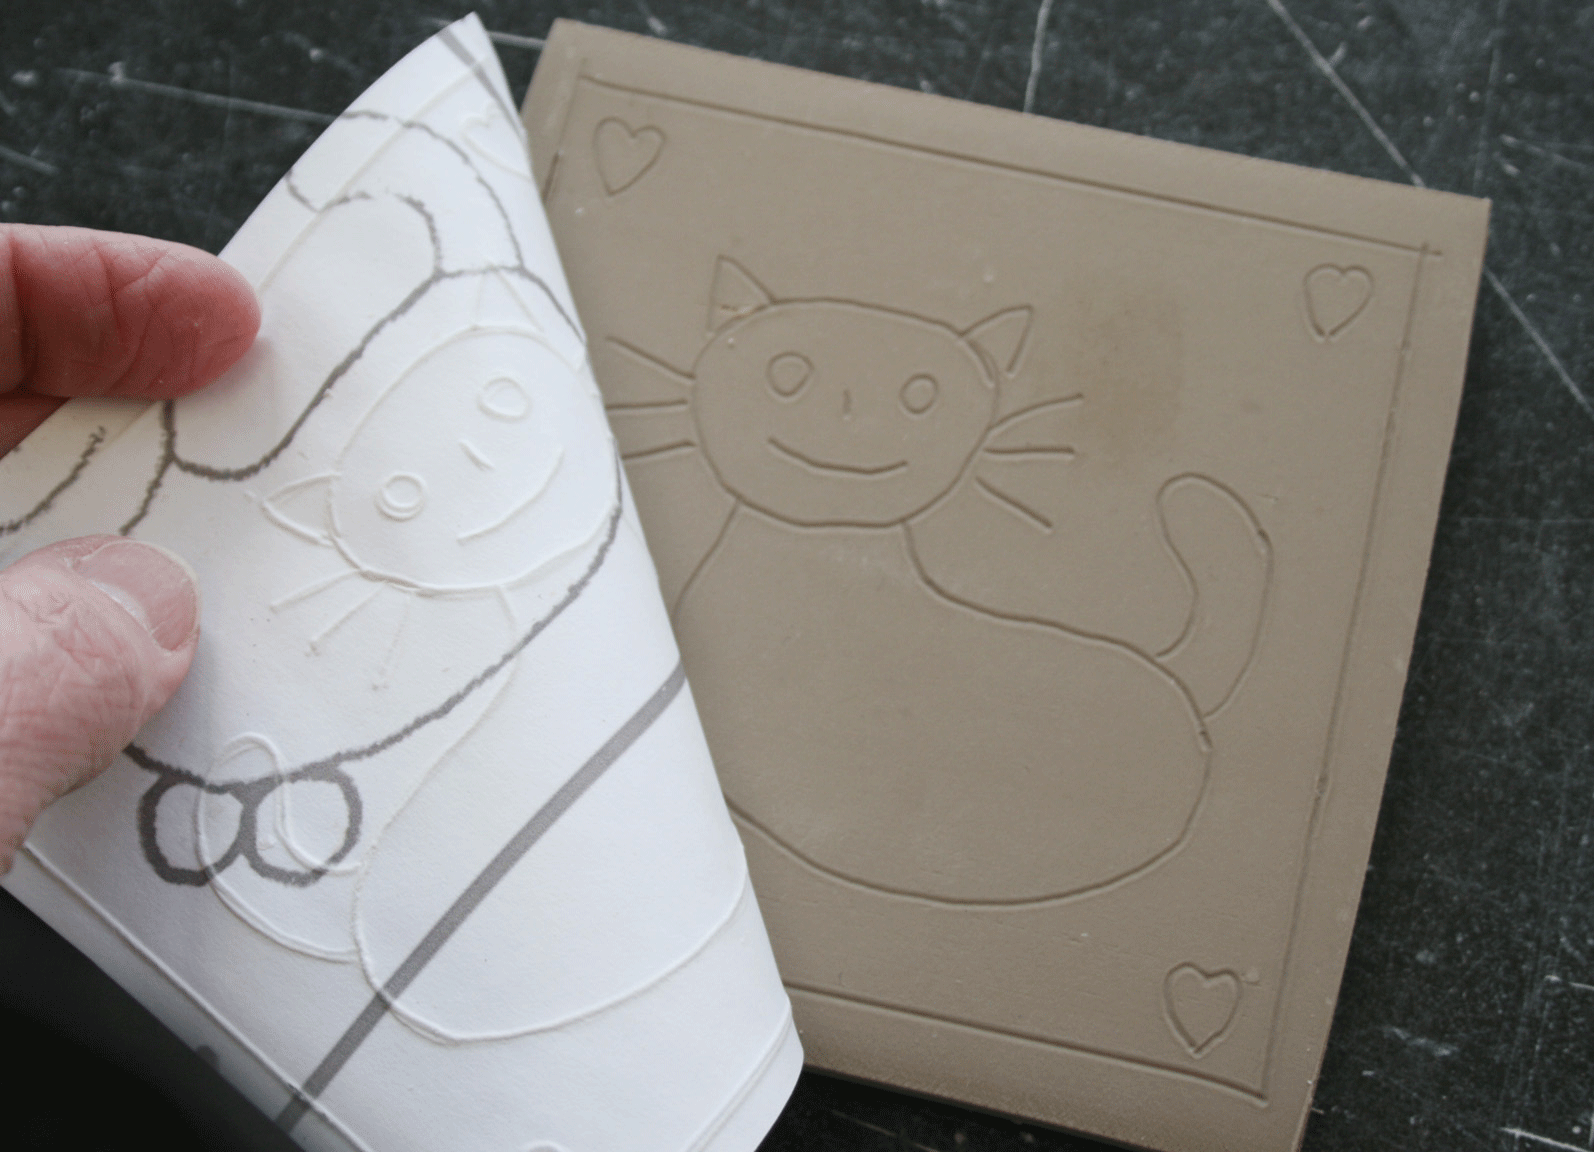
Laying the paper on top of the clay.

Using a pen to trace the design onto the clay surface.

Peeling off the paper to reveal the image on the clay.

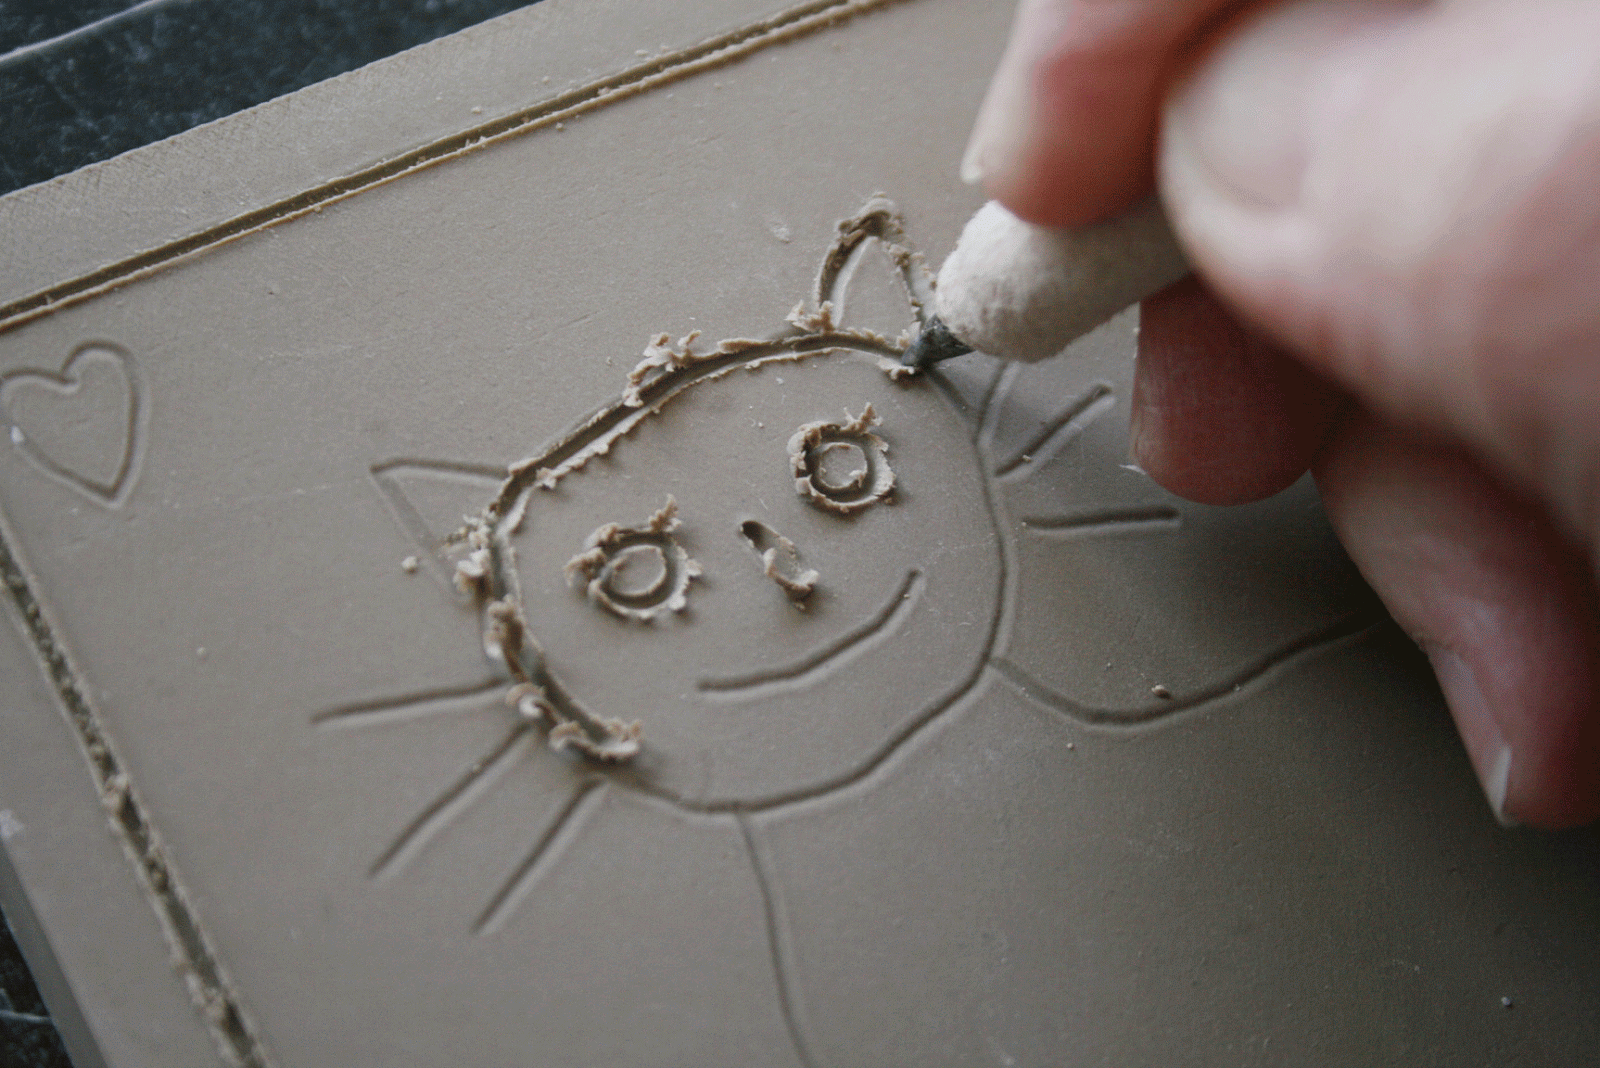
Using a stylus to create a line deep enough to hold the grout.

Finished with creating the line. The clay is leatherhard and crumbles as the line is drawn in it. This needs to be cleaned up.

Brushing off all the clay crumbs.

After letting the tile dry a bit more I use a carving tool to smooth the lines a bit. Then I use a sponge to give it a nice clean finish.

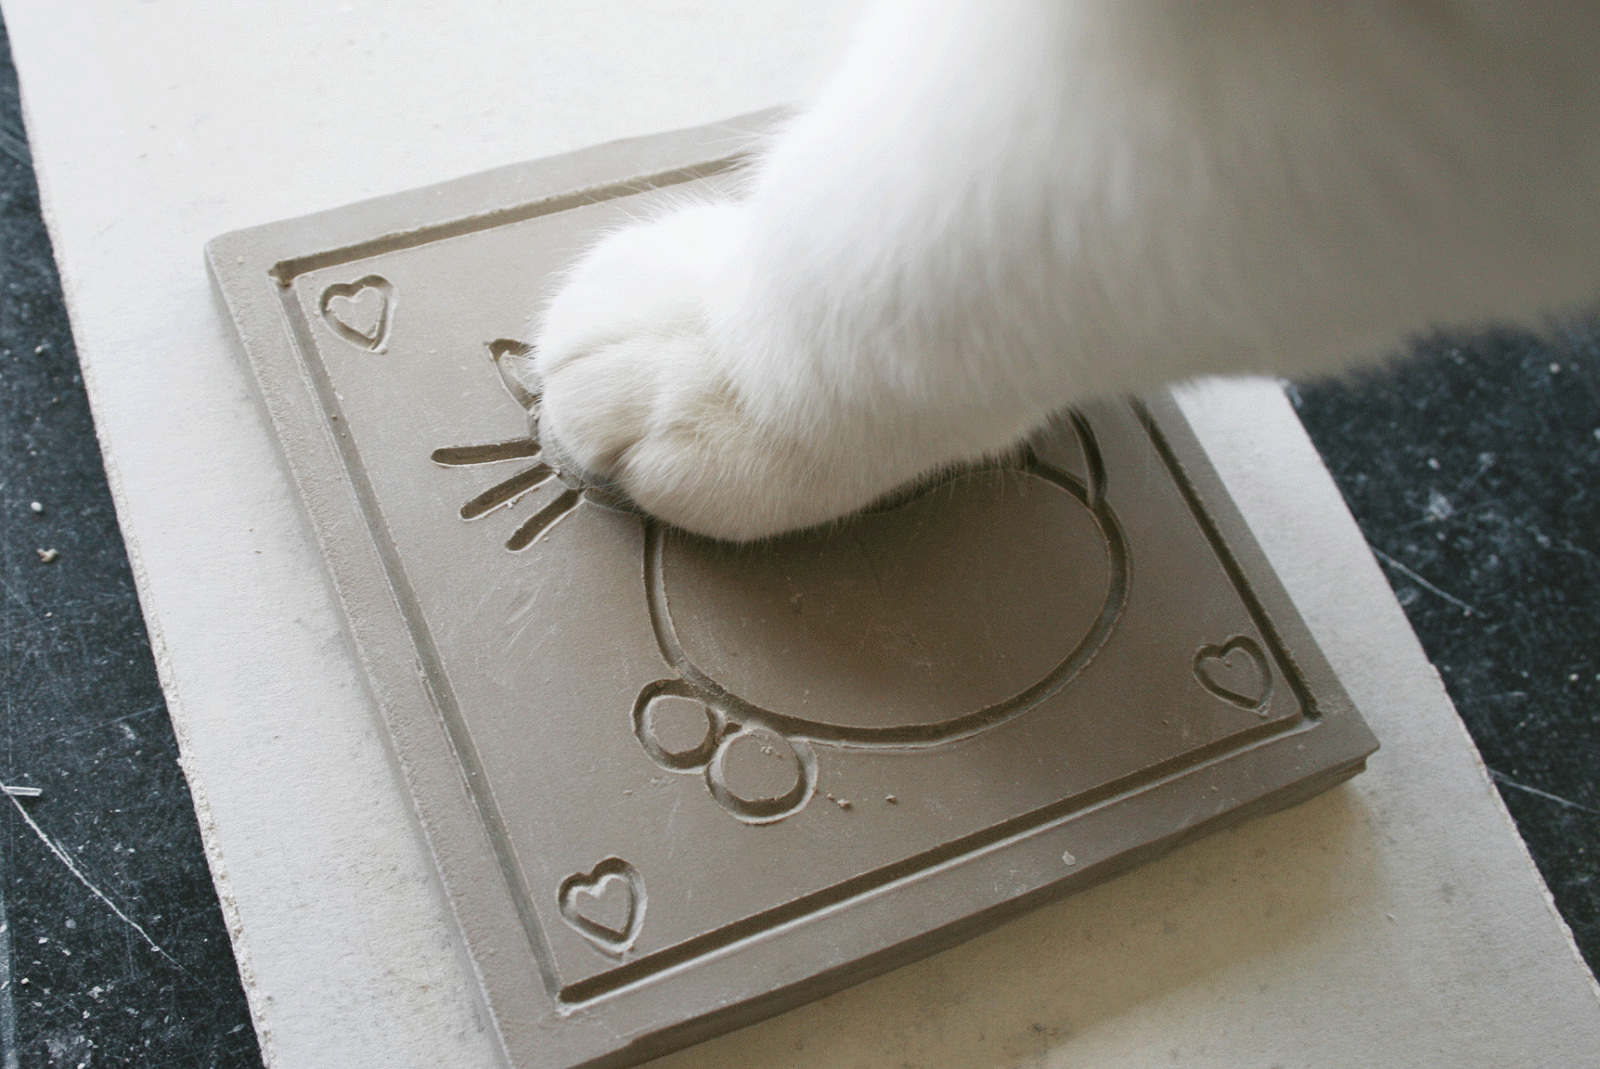
Of course, I'd never get anything done without Abbey's help.

Abbey gives the finished tile her stamp of approval. My kitty digs this cat tile!

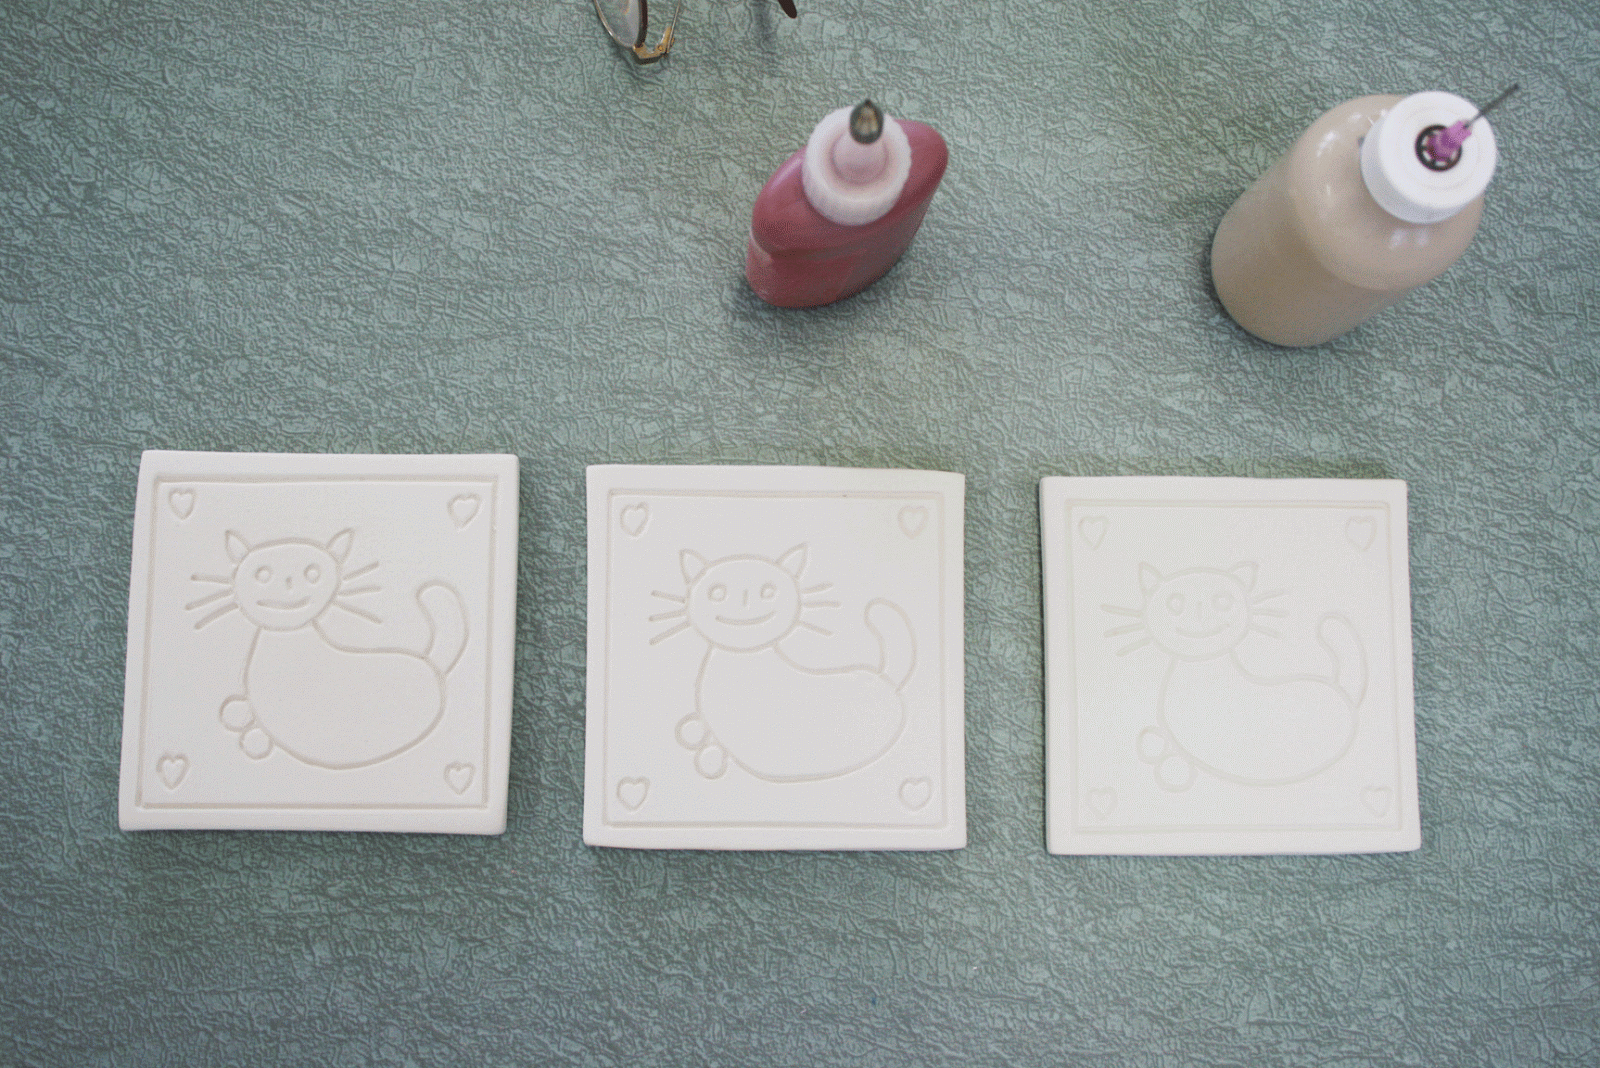
After the bisque firing the tiles are on the glaze table ready to be glazed. I use slip bottles to glaze the details, as I need to keep the grout lines clear of glaze, so the grout will stick in the lines.

I needed 2 tiles, so I made 3, just to have one to practice on, and just in case.....

I'm using high fire matte glazes, so they won't run into the lines. Now just to keep a steady hand!

This is a maize brown matte glaze. I'm using a cream matte for the other details, and the second tile will have the opposite glazing combination.

Glazing the cream details.

One of the glazed tiles before firing.

Here are the 3 glazed tiles in one of the tile cranks, on their way to the kilns for firing.

The finished tiles. I used a neutral brown grout to fill in the lines of the tile on the right, just so that I could see what it will look like after grouting. The customer will use a dark green grout, and I'm looking forward to seeing her finished project!

Have an idea for a custom tile? Send me a convo through my Etsy shop or email me at lestile@nycap.rr.com.

Labels: , , , , , ,

Tuesday, November 1, 2011

November Treasury

 Thanks, tookies, for including me in your lovely treasury!!

Labels: , , , , , , ,

Saturday, September 17, 2011

My Trick and Treat Serving Dishes

 The weather is changing, fall is on it's way, and I'm filled with the creative air that autumn always brings to me. I'm loving the new slab bowls and plates that I'm making, and playing with decals has been fun, fun, fun.

 Who wouldn't love to have a serving bowl with a large spider illustration?

This spider web dish is the perfect way to serve up some tasty treats with a hidden trick!

You can find them all in my Etsy shop. More will be added soon....stay tuned!!

Labels: , , , , , , ,

Friday, December 10, 2010

Etsy Treasury Favorites

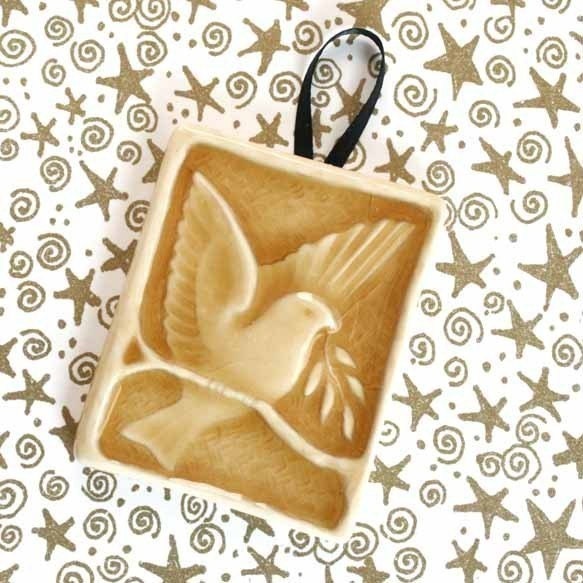
Thanks, Karen, for creating this lovely treasury, and for your wonderful narrative about the inspiration for it....and for including my little bird tile ornament!!

'Mountains' by SongandBranch

What I remember of all the times in the mountains - a veil of mist, the swirl of waters far below a rocking bridge, a stone cottage above the trail, slumped a little with time and the weight of snow. A thermos of warm tawny tea thick with cream and scented with cinnamon, the warmth of a cup in my hand and the reflection of snow on my best friend's face, smiling.


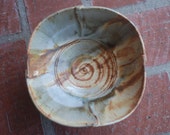
Misty Mountain Thrown a...
$28.00

Desert Sunrise Earthton...
$45.00

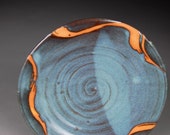
Blue Slate Lunch Plate ...
$18.00

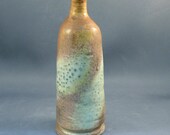
Autumn Jar
$25.00

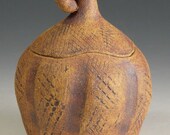
Angel Sculpture
$550.00

ON SALE! 40% OFF Soap o...
$17.60

Pair of Milky White Pla...
$24.00

4 soup bowls
$80.00

Porcelain and Stonware ...
$4.50

Bowl with incised lands...
$24.00

Full Moon and Tree Gate...
$275.00

Bowl -- Yellow and Iron...
$30.00

Set of Four Dipping Bow...
$48.00

Serving Bowl
$44.00

Vase in Copper Lava gla...
$20.00

Bird of Peace - Handmad...
$10.00

Generated using Treasury HTML code generator by Whale Shark Websites.

Labels: , ,